The Interface
Before we get started, let’s get to know Kiro a bit first.
A quick orientation before the build acts: the parts of Kiro you’ll lean on, and where the things you configure live on disk.
The panels
Section titled “The panels”Here’s the main Kiro window. Almost everything you’ll touch in this workshop is one of the panels in that left sidebar.
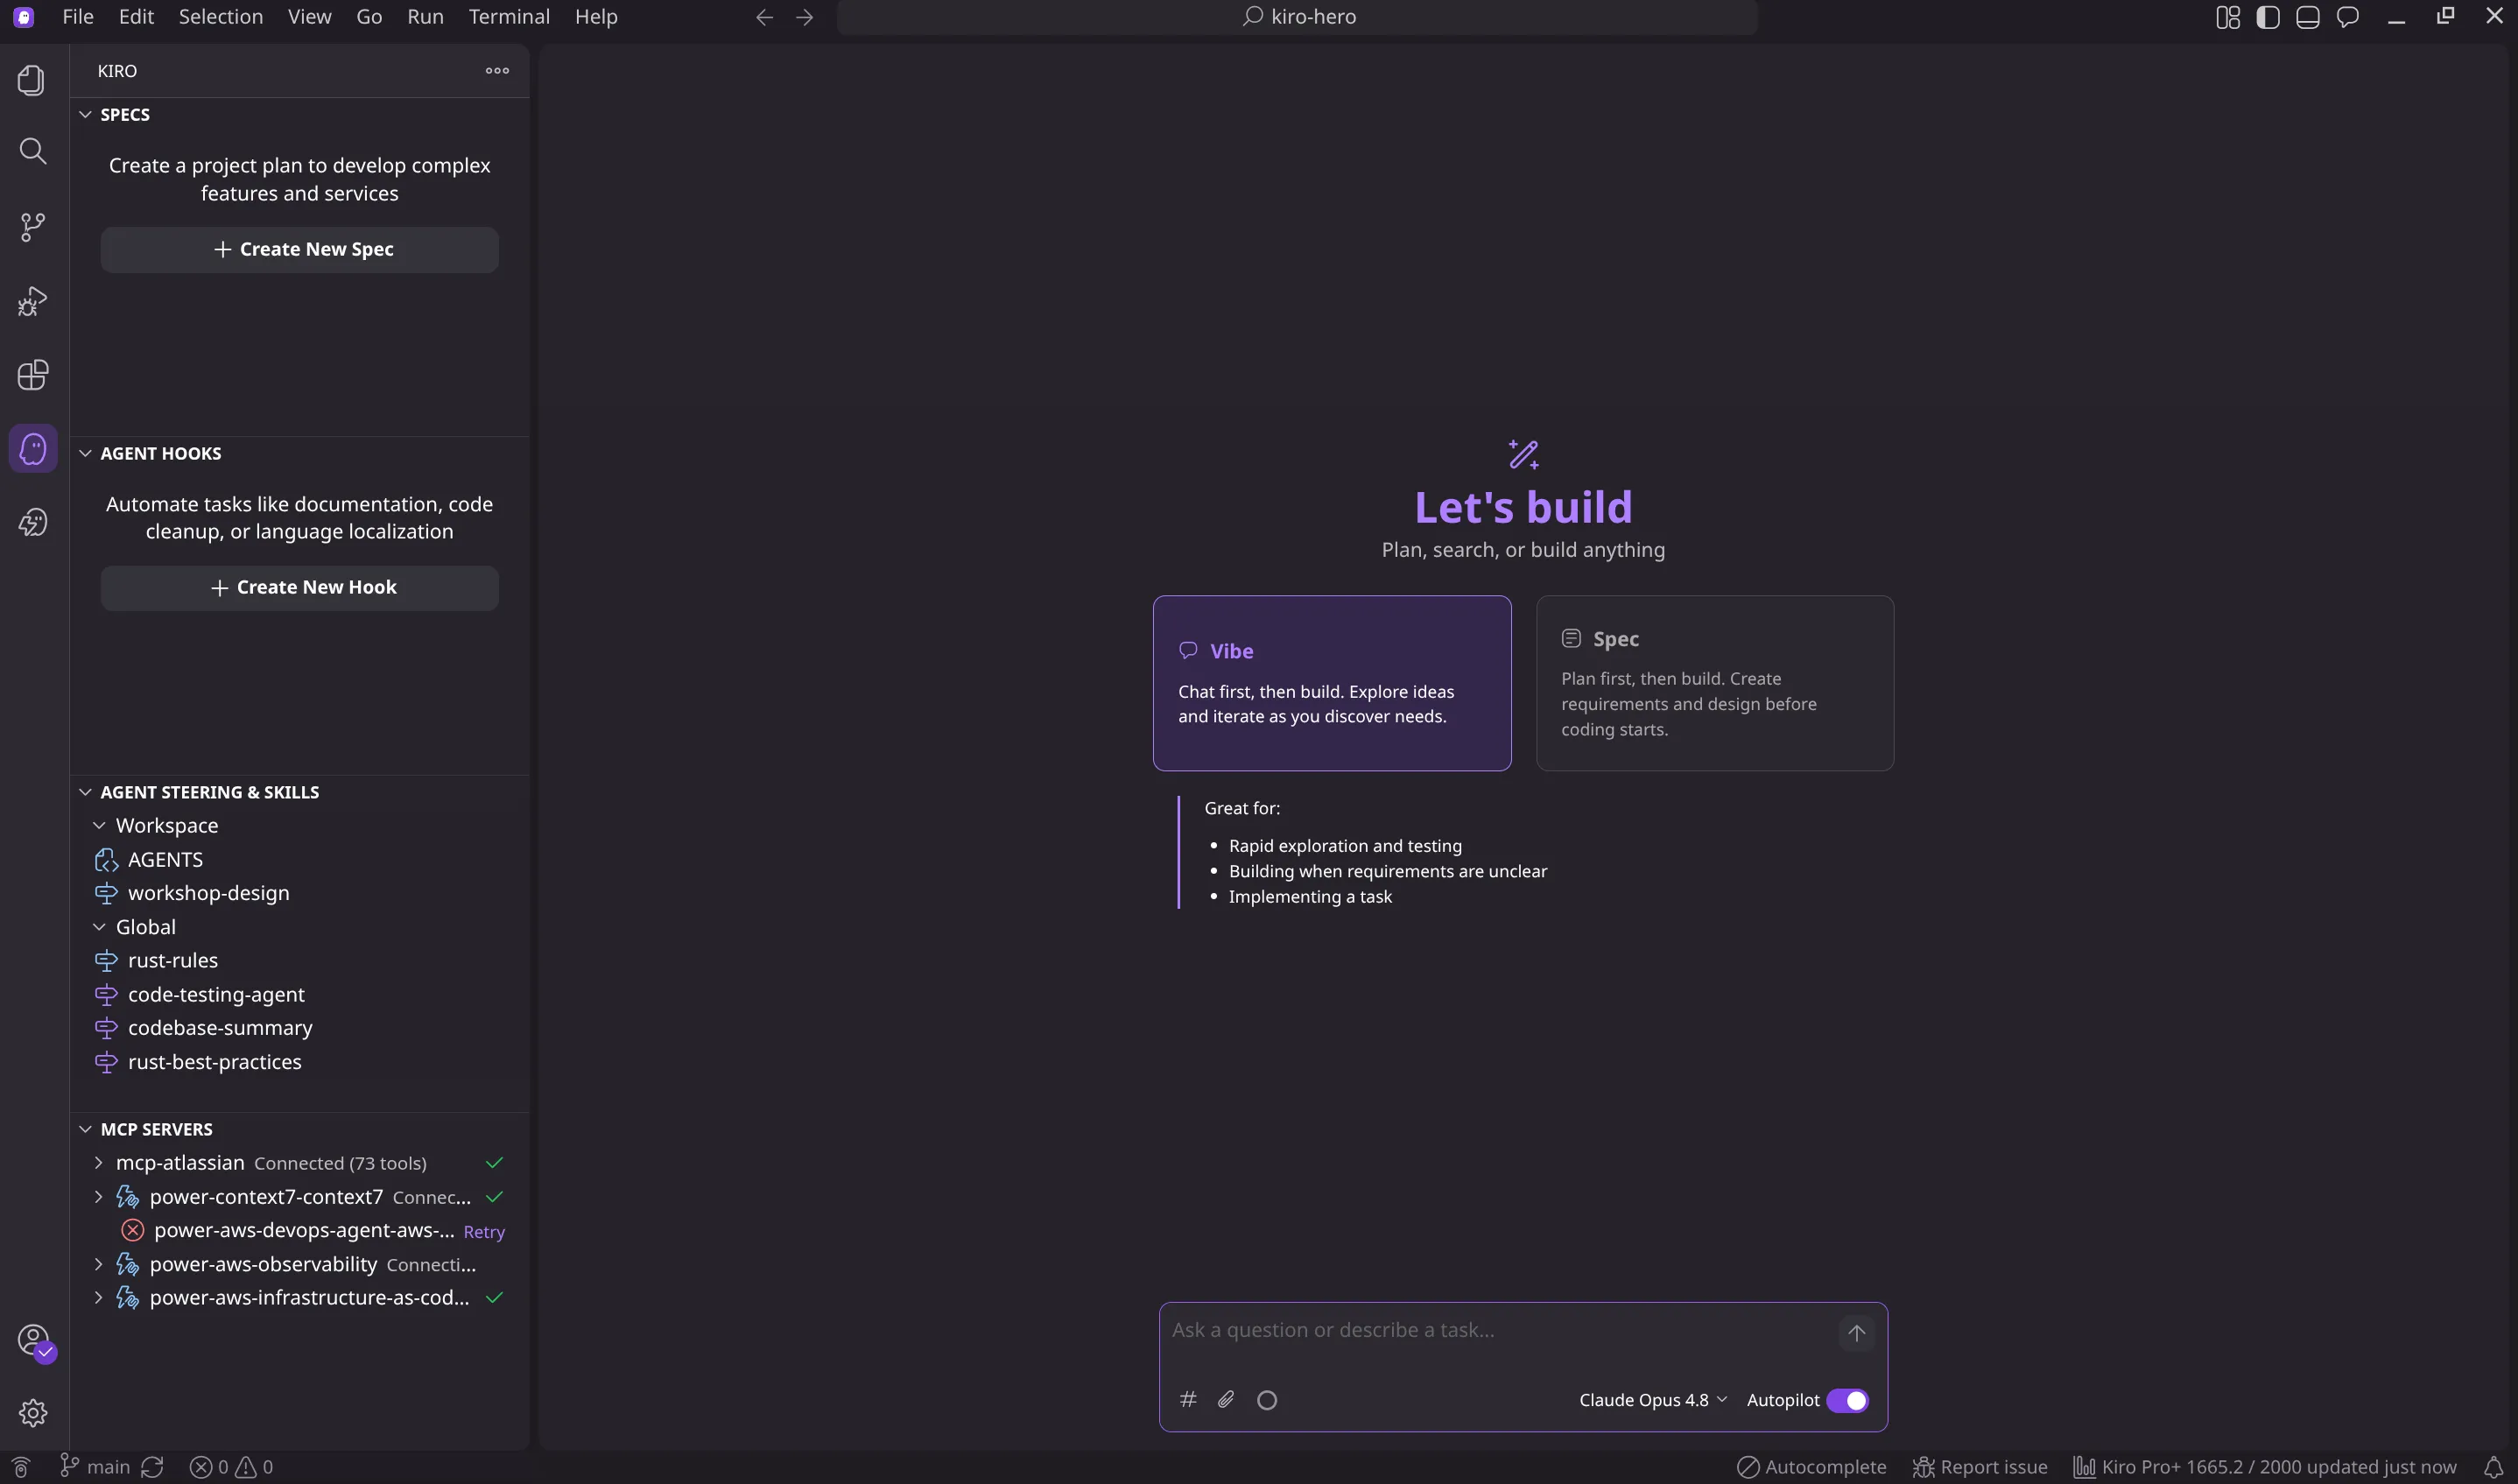
- The agent panel is the chat box at the bottom. You describe a task and watch the agent work. The Vibe and Spec cards are the two ways to start: chat and iterate, or plan first.
- Specs is where spec-driven requirements, design, and tasks live. Act 3.
- Agent Hooks is where commands fire automatically during the agent’s turn. Act 2.
- Agent Steering & Skills is the project knowledge and reusable workflows the agent loads. Act 1.
- MCP Servers is where external tools connect. Act 2.
That sidebar is the whole workshop in one column. Each section maps to a primitive you’ll configure.
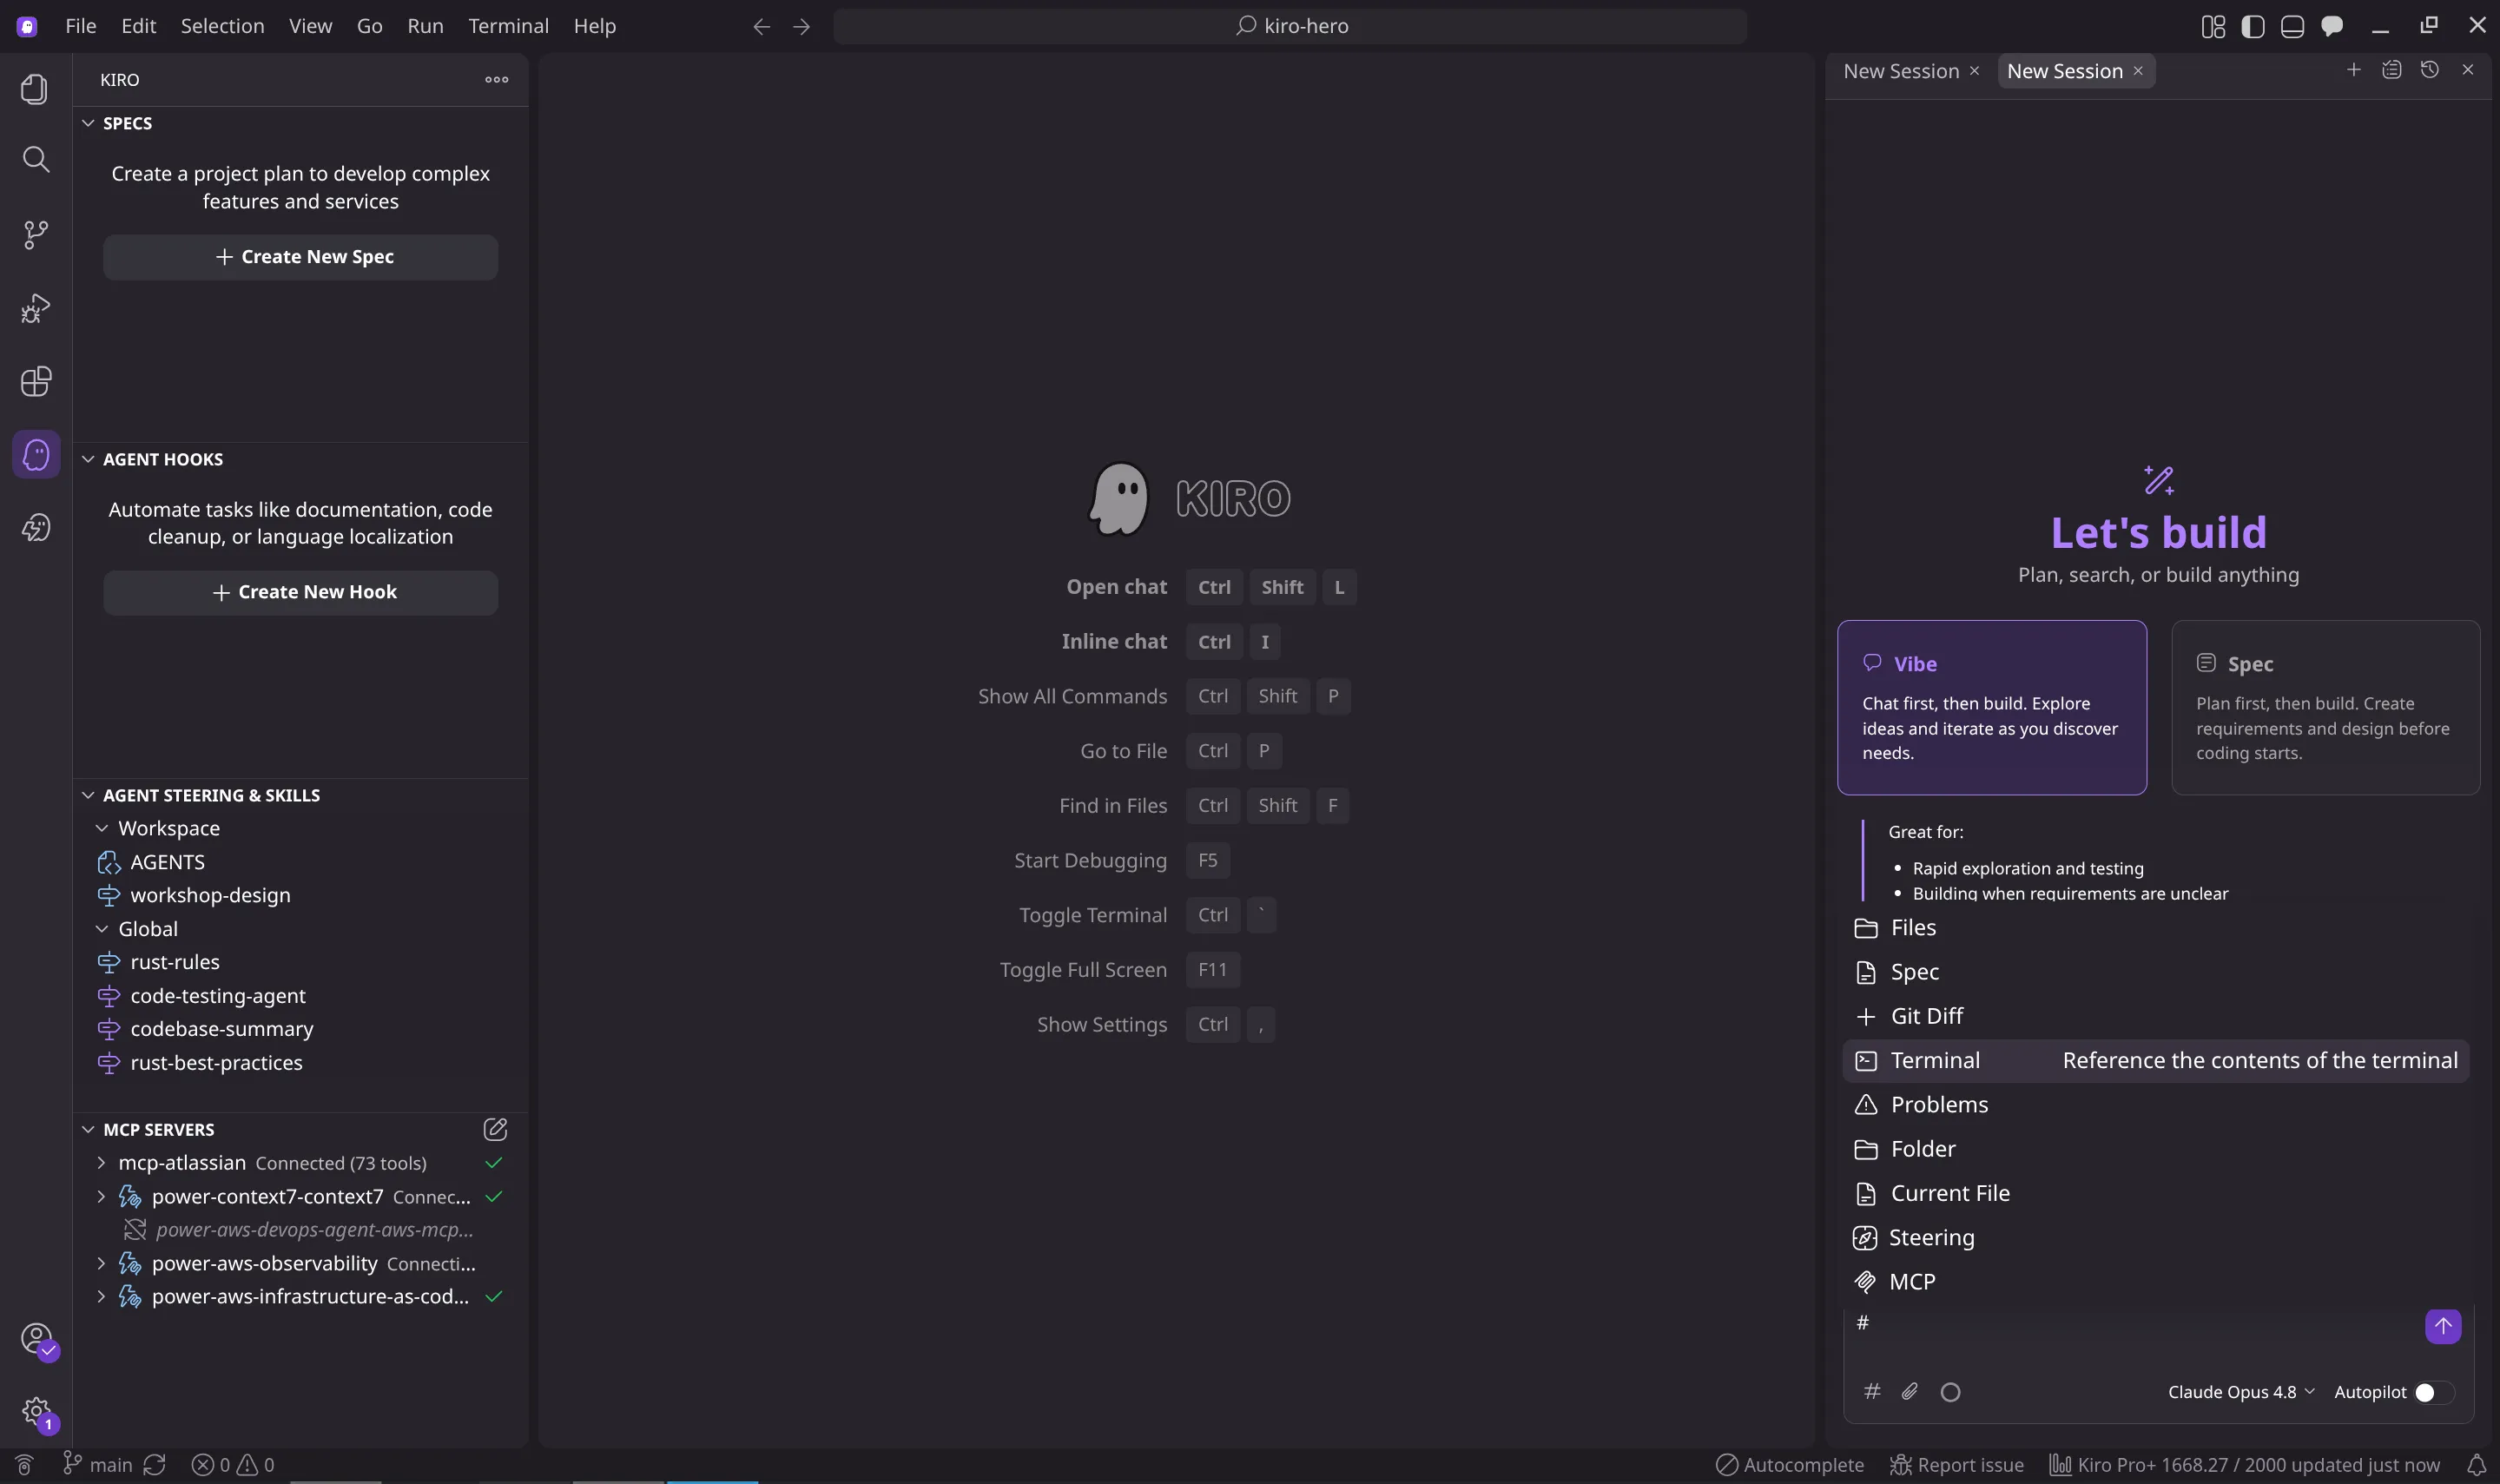
Giving the agent context with #
Section titled “Giving the agent context with #”When you want the agent to look at something specific, type # in the chat and pick it: a file,
the terminal, a spec, your steering, an MCP server.
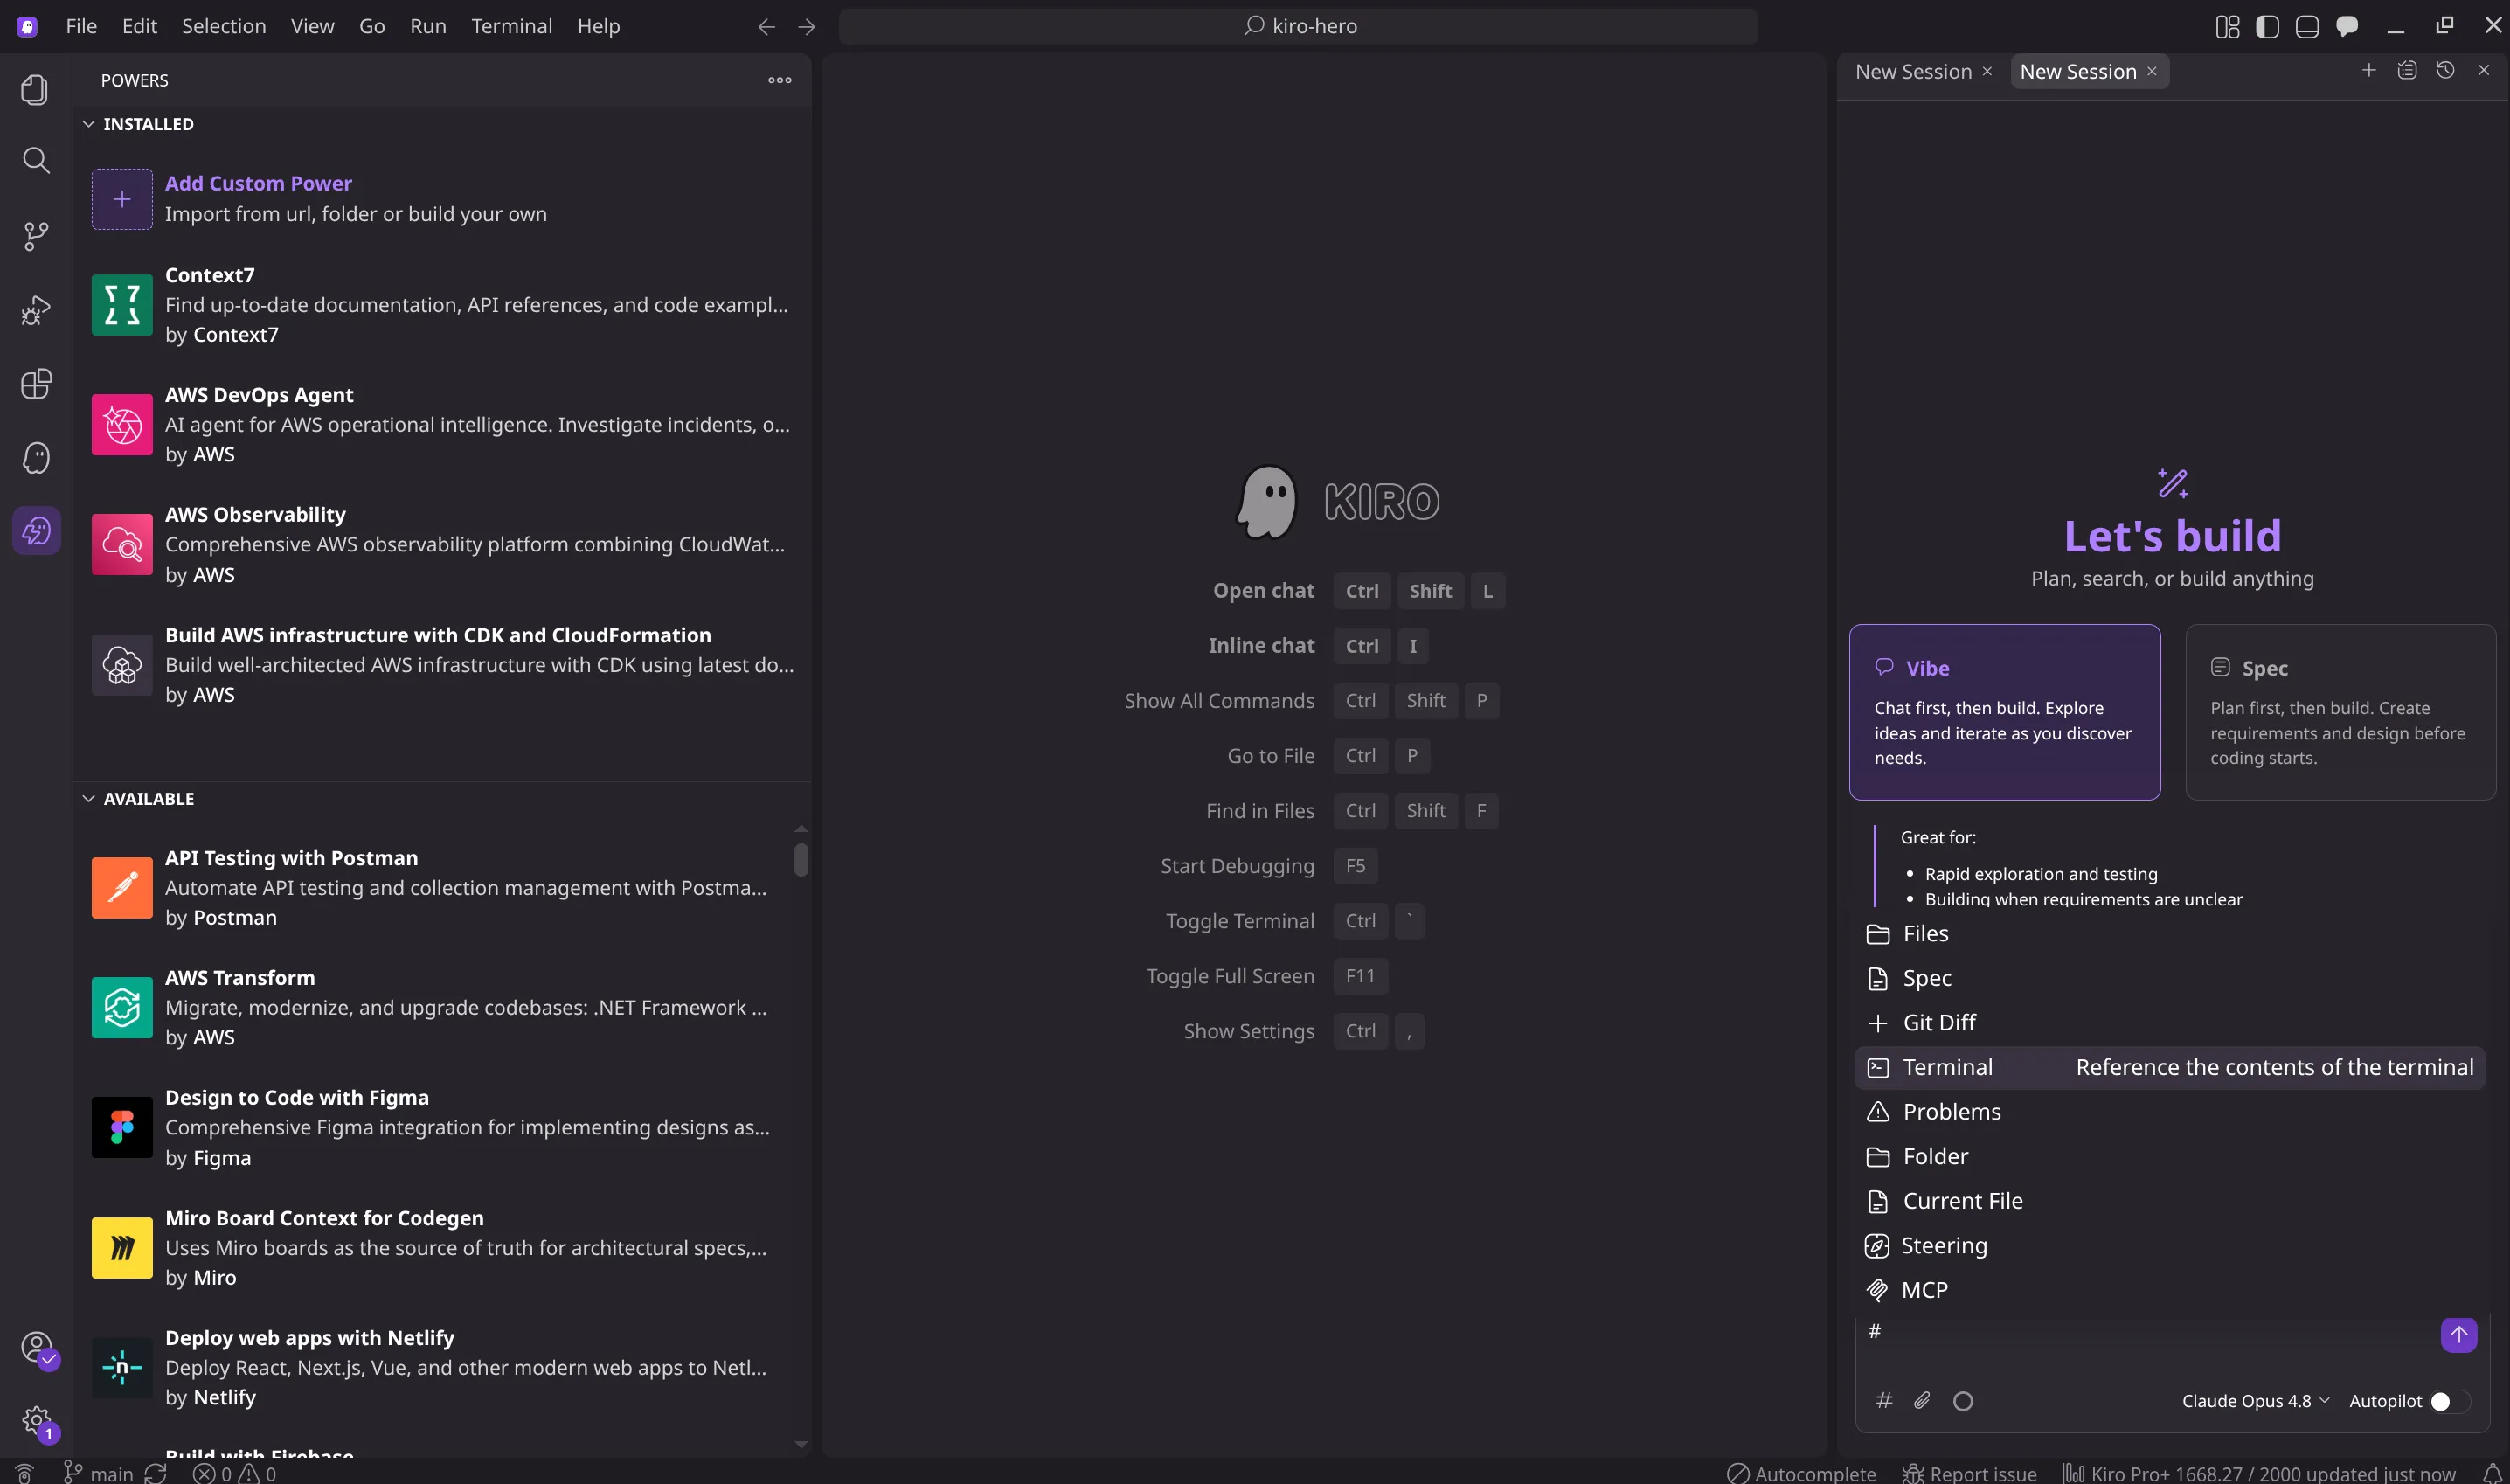
Powers
Section titled “Powers”Kiro bundles MCP servers and skills together as Powers. The Powers panel is a small marketplace: some bundles installed, more available to add. You’ll meet Powers again in Act 2.
The .kiro directory
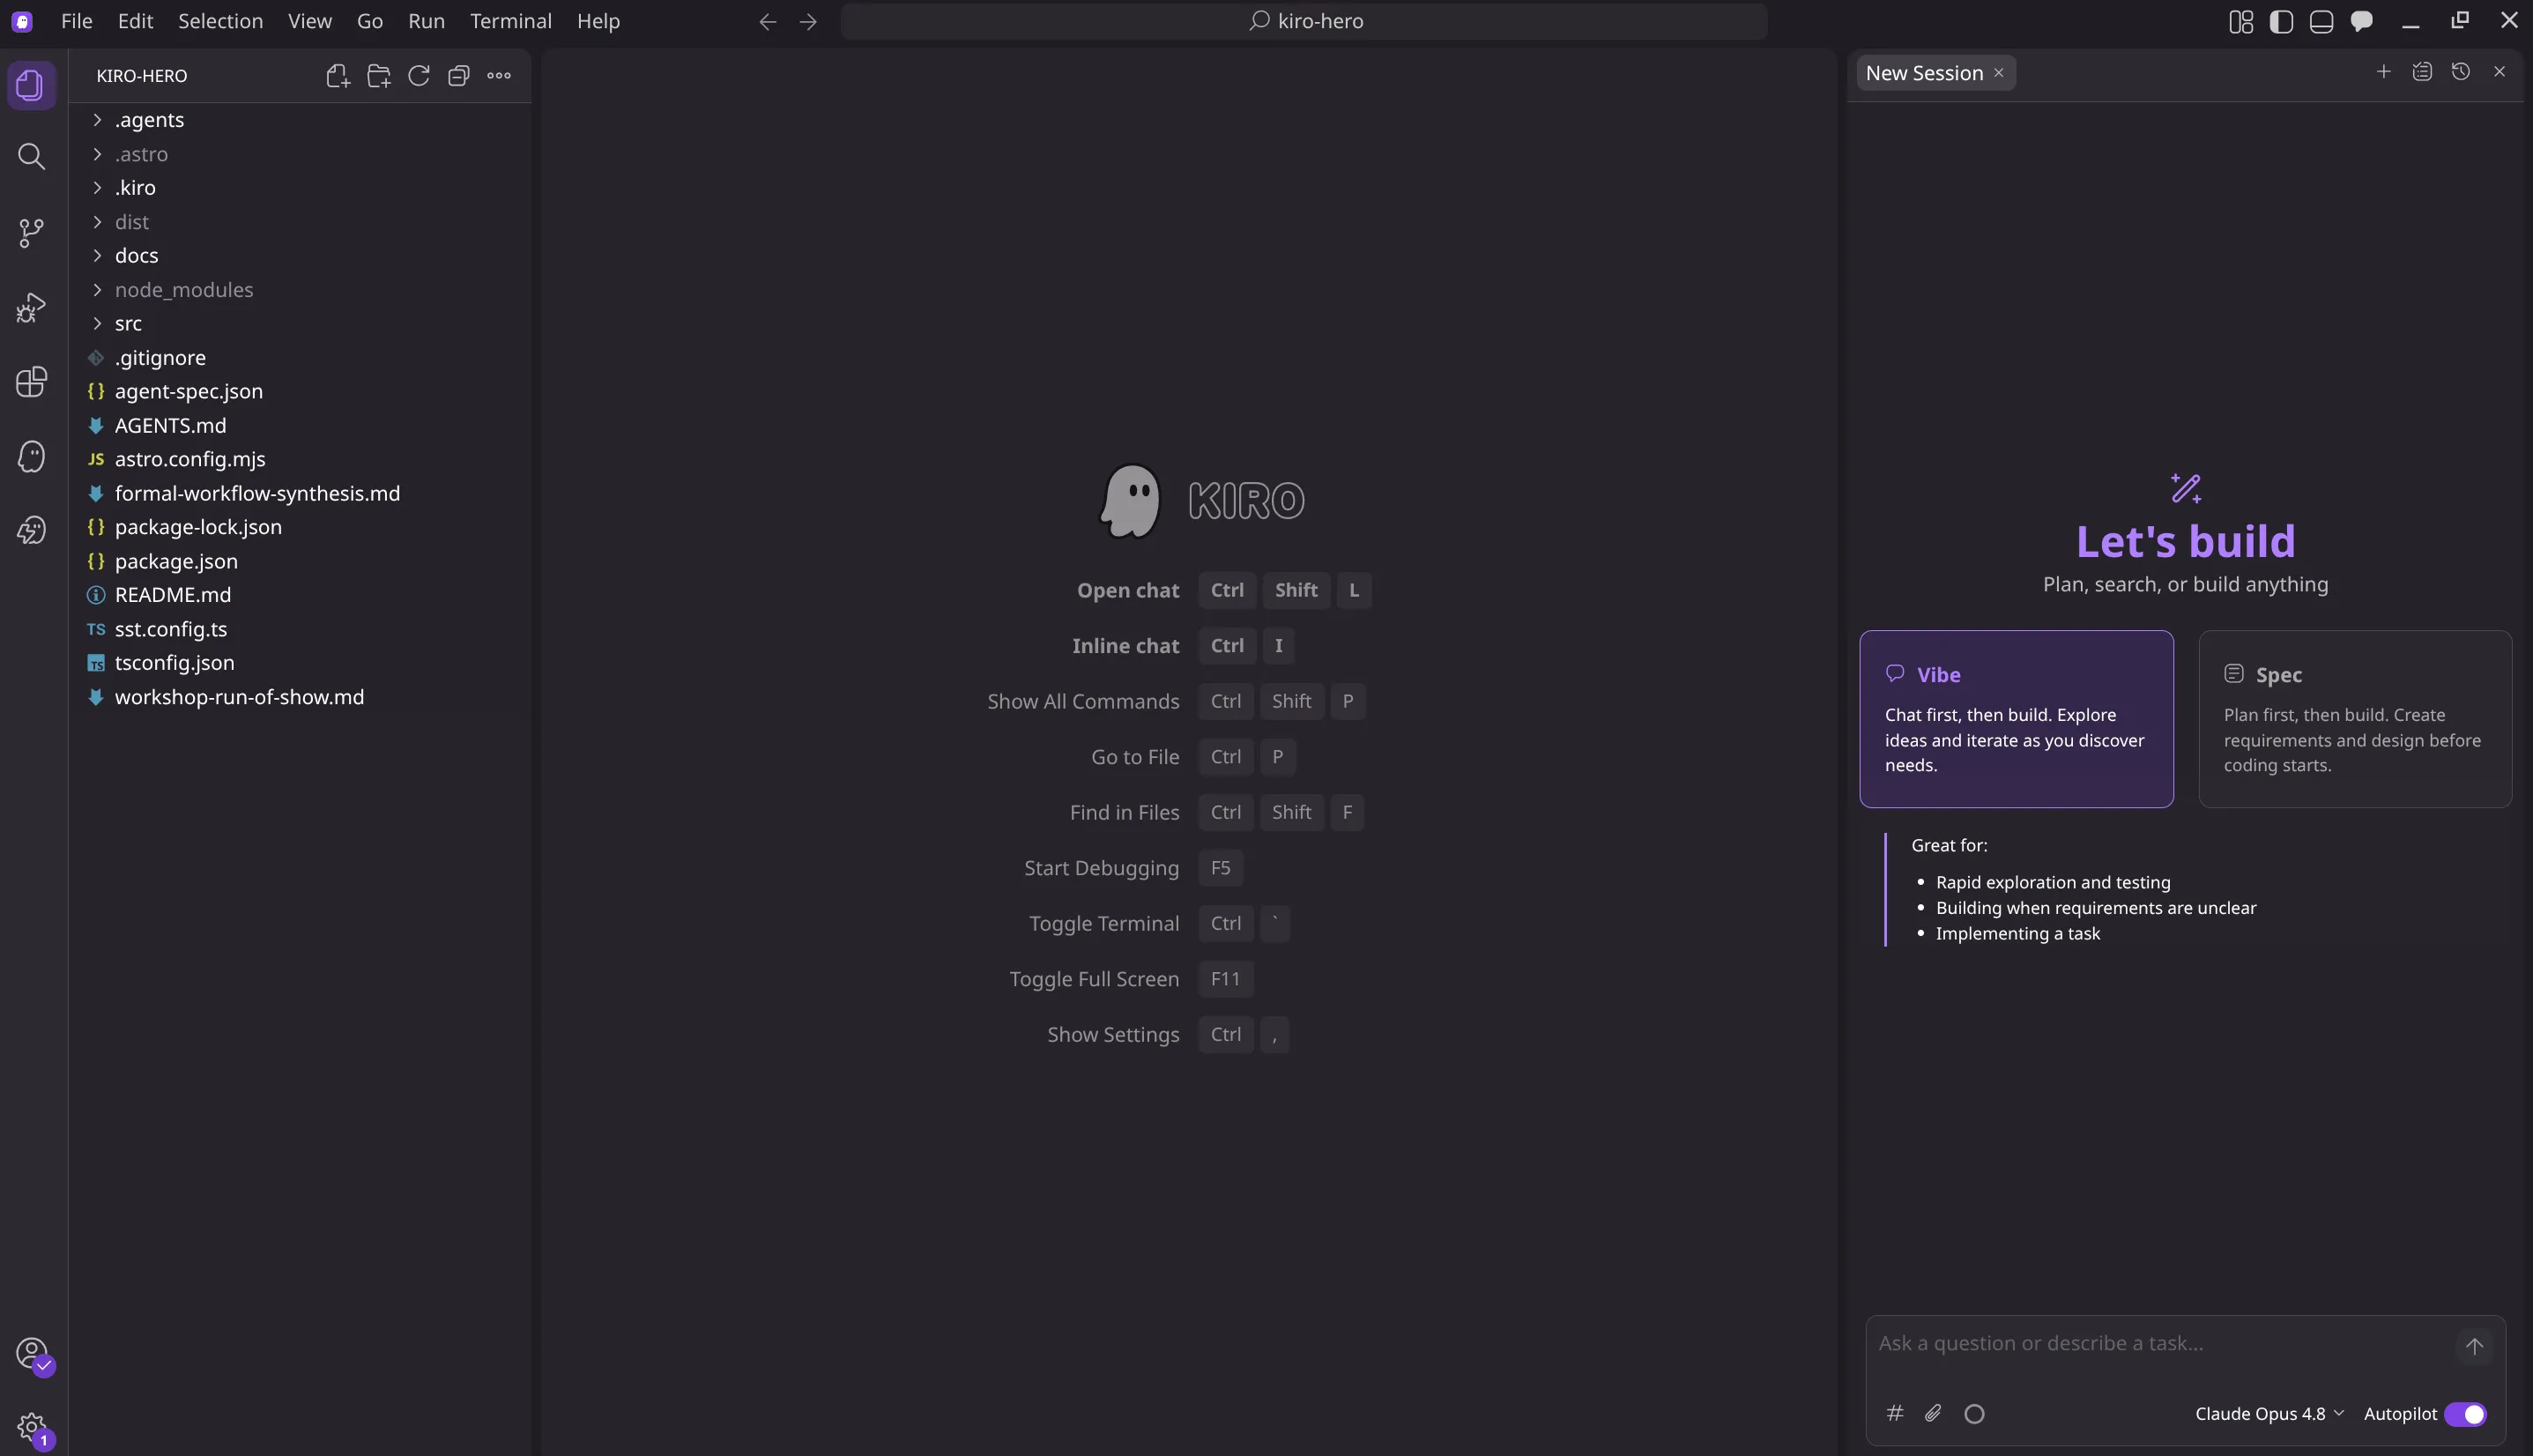
Section titled “The .kiro directory”Everything you configure in Kiro lives under a .kiro/ directory, organized by what it does. You’ll
create files in most of these subdirectories over the next three acts:
Directory.kiro/
Directorysteering/
- …
Directoryskills/
- …
Directoryhooks/
- …
Directoryagents/
- …
Directoryspecs/
- …
Directorysettings/
- …
| Subdirectory | What lives there | Covered in |
|---|---|---|
steering/ | Project knowledge and conventions the agent should follow | Act 1 |
skills/ | Reusable workflows the agent pulls in on demand | Act 1 |
hooks/ | Commands or prompts that fire at points in the agent’s lifecycle | Act 2 |
agents/ | Custom agent profiles: model, tools, permissions, context | Act 2 |
specs/ | Spec-mode documents (requirements, design, tasks) | Act 3 |
settings/ | Permissions and other configuration | Act 2 |
Global vs. project, and which one wins
Section titled “Global vs. project, and which one wins”Every one of these exists in two places:
- Project (
<your-project>/.kiro/) applies to this repo only. It’s committed with the code, so your whole team gets it. - Global (
~/.kiro/) applies to every project on your machine. It’s your personal setup.
When both define the same thing, like a steering file, skill, or agent with the same name, the project version wins. A project file overrides the global one. The default agent reads from both locations, with the project copy taking precedence.