Authentication
With Kiro installed, the last setup step is signing in. Kiro supports several providers, so pick whichever your account or organization uses:
- GitHub: sign in with your GitHub account.
- Google: sign in with your Google credentials.
- AWS Builder ID: quick setup for individual developers.
- AWS IAM Identity Center: enterprise sign-in (see below).
- External identity provider: your org’s IdP, e.g. Microsoft Entra ID or Okta.
-
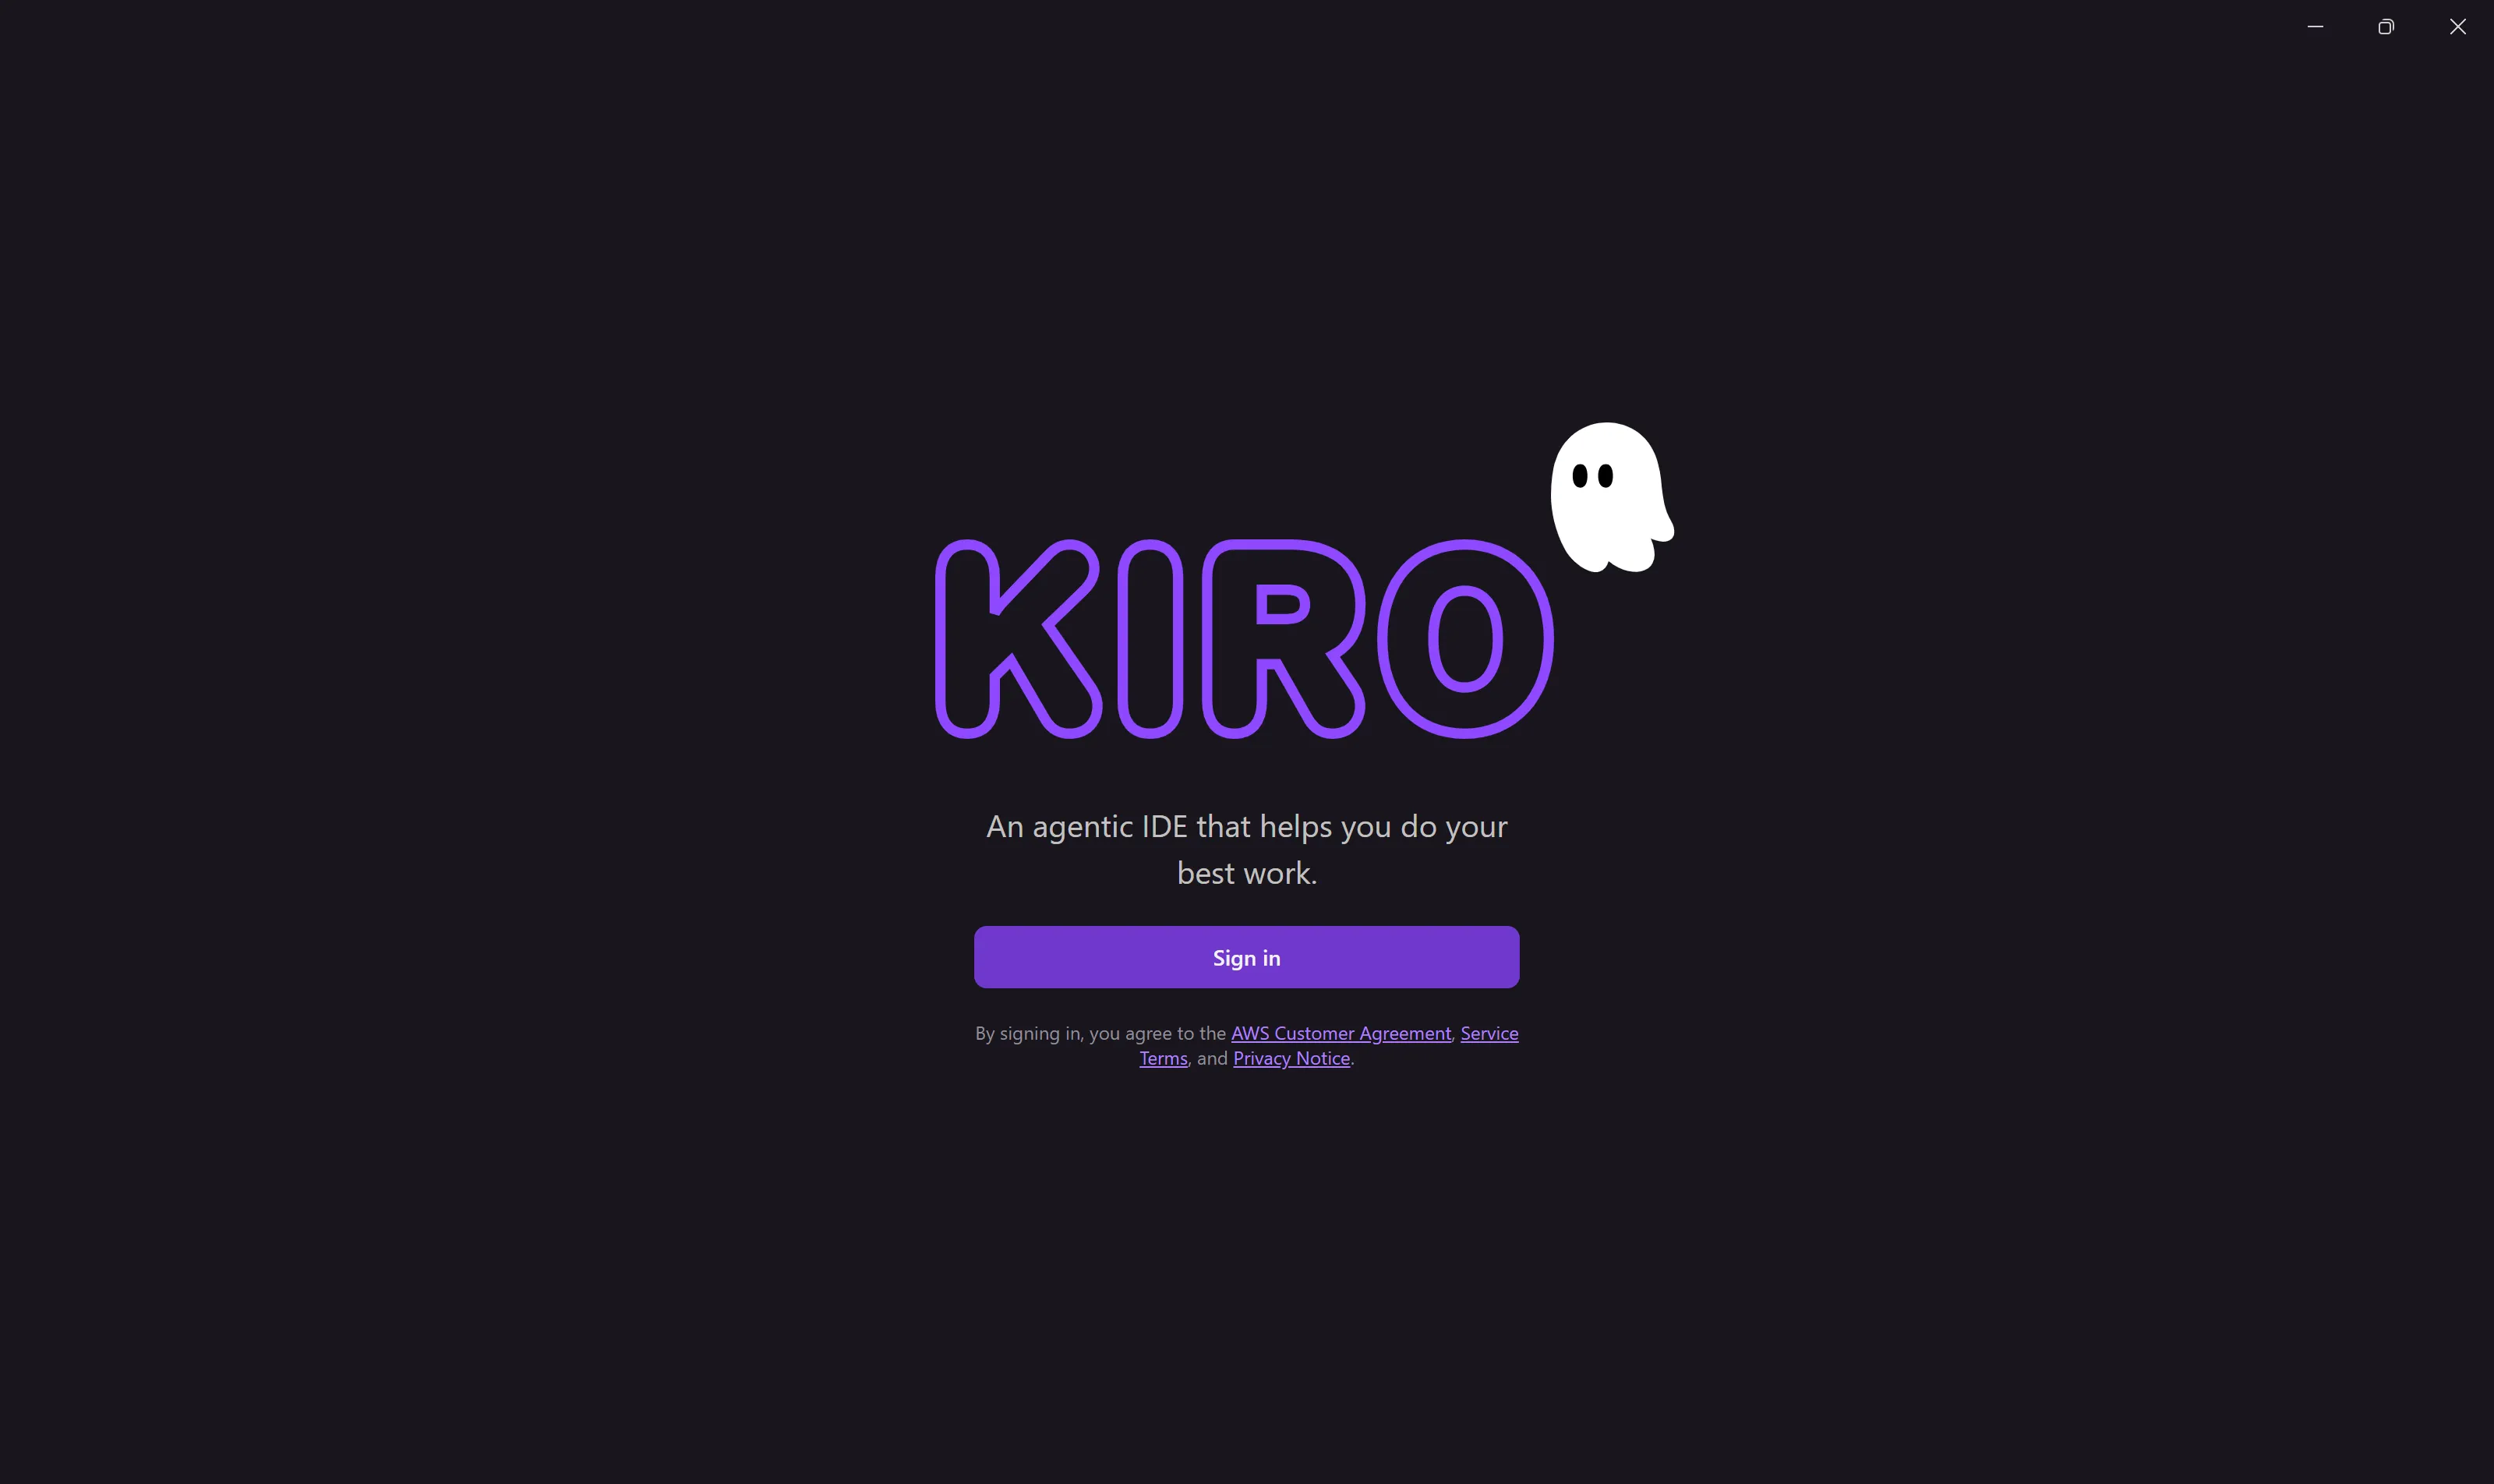
On first launch, Kiro shows its sign-in screen. Choose Sign in.
-
Your browser opens to the Choose a way to sign in/sign up page. It’s the same chooser for every sign-in method. Pick your provider.
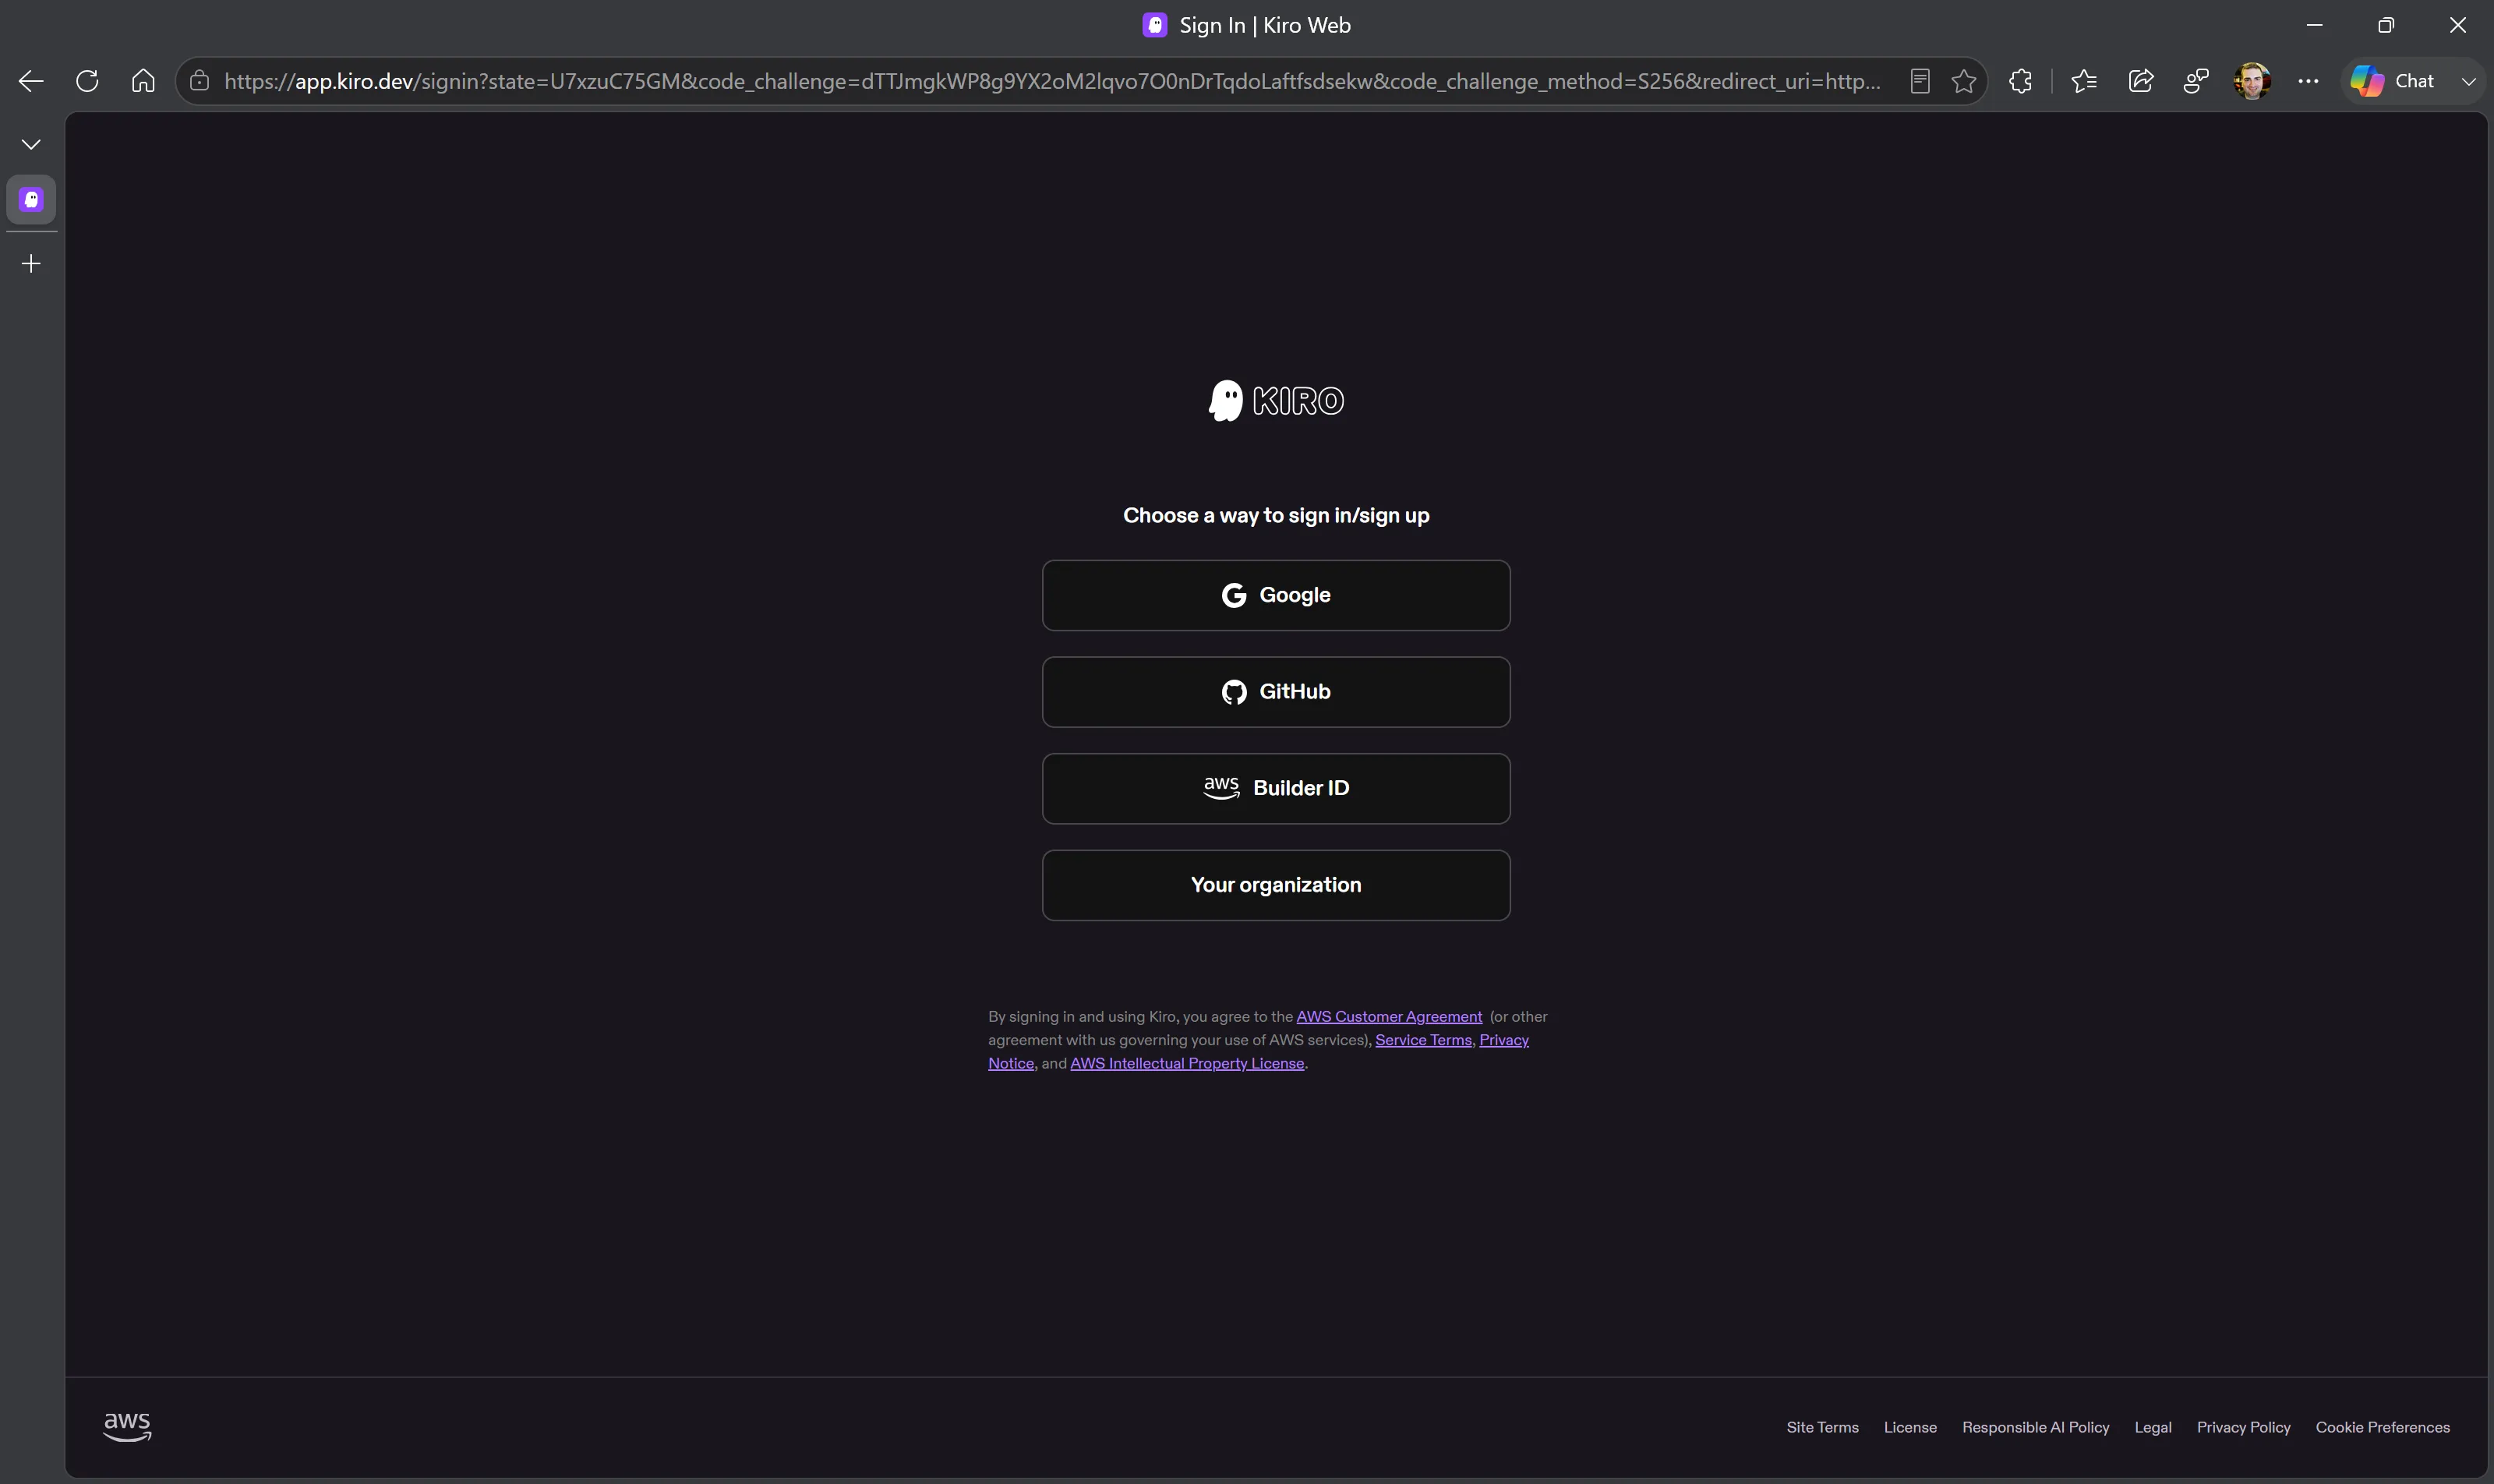
Using IAM Identity Center? Choose Your organization here, then follow AWS IAM Identity Center below before finishing this step.
-
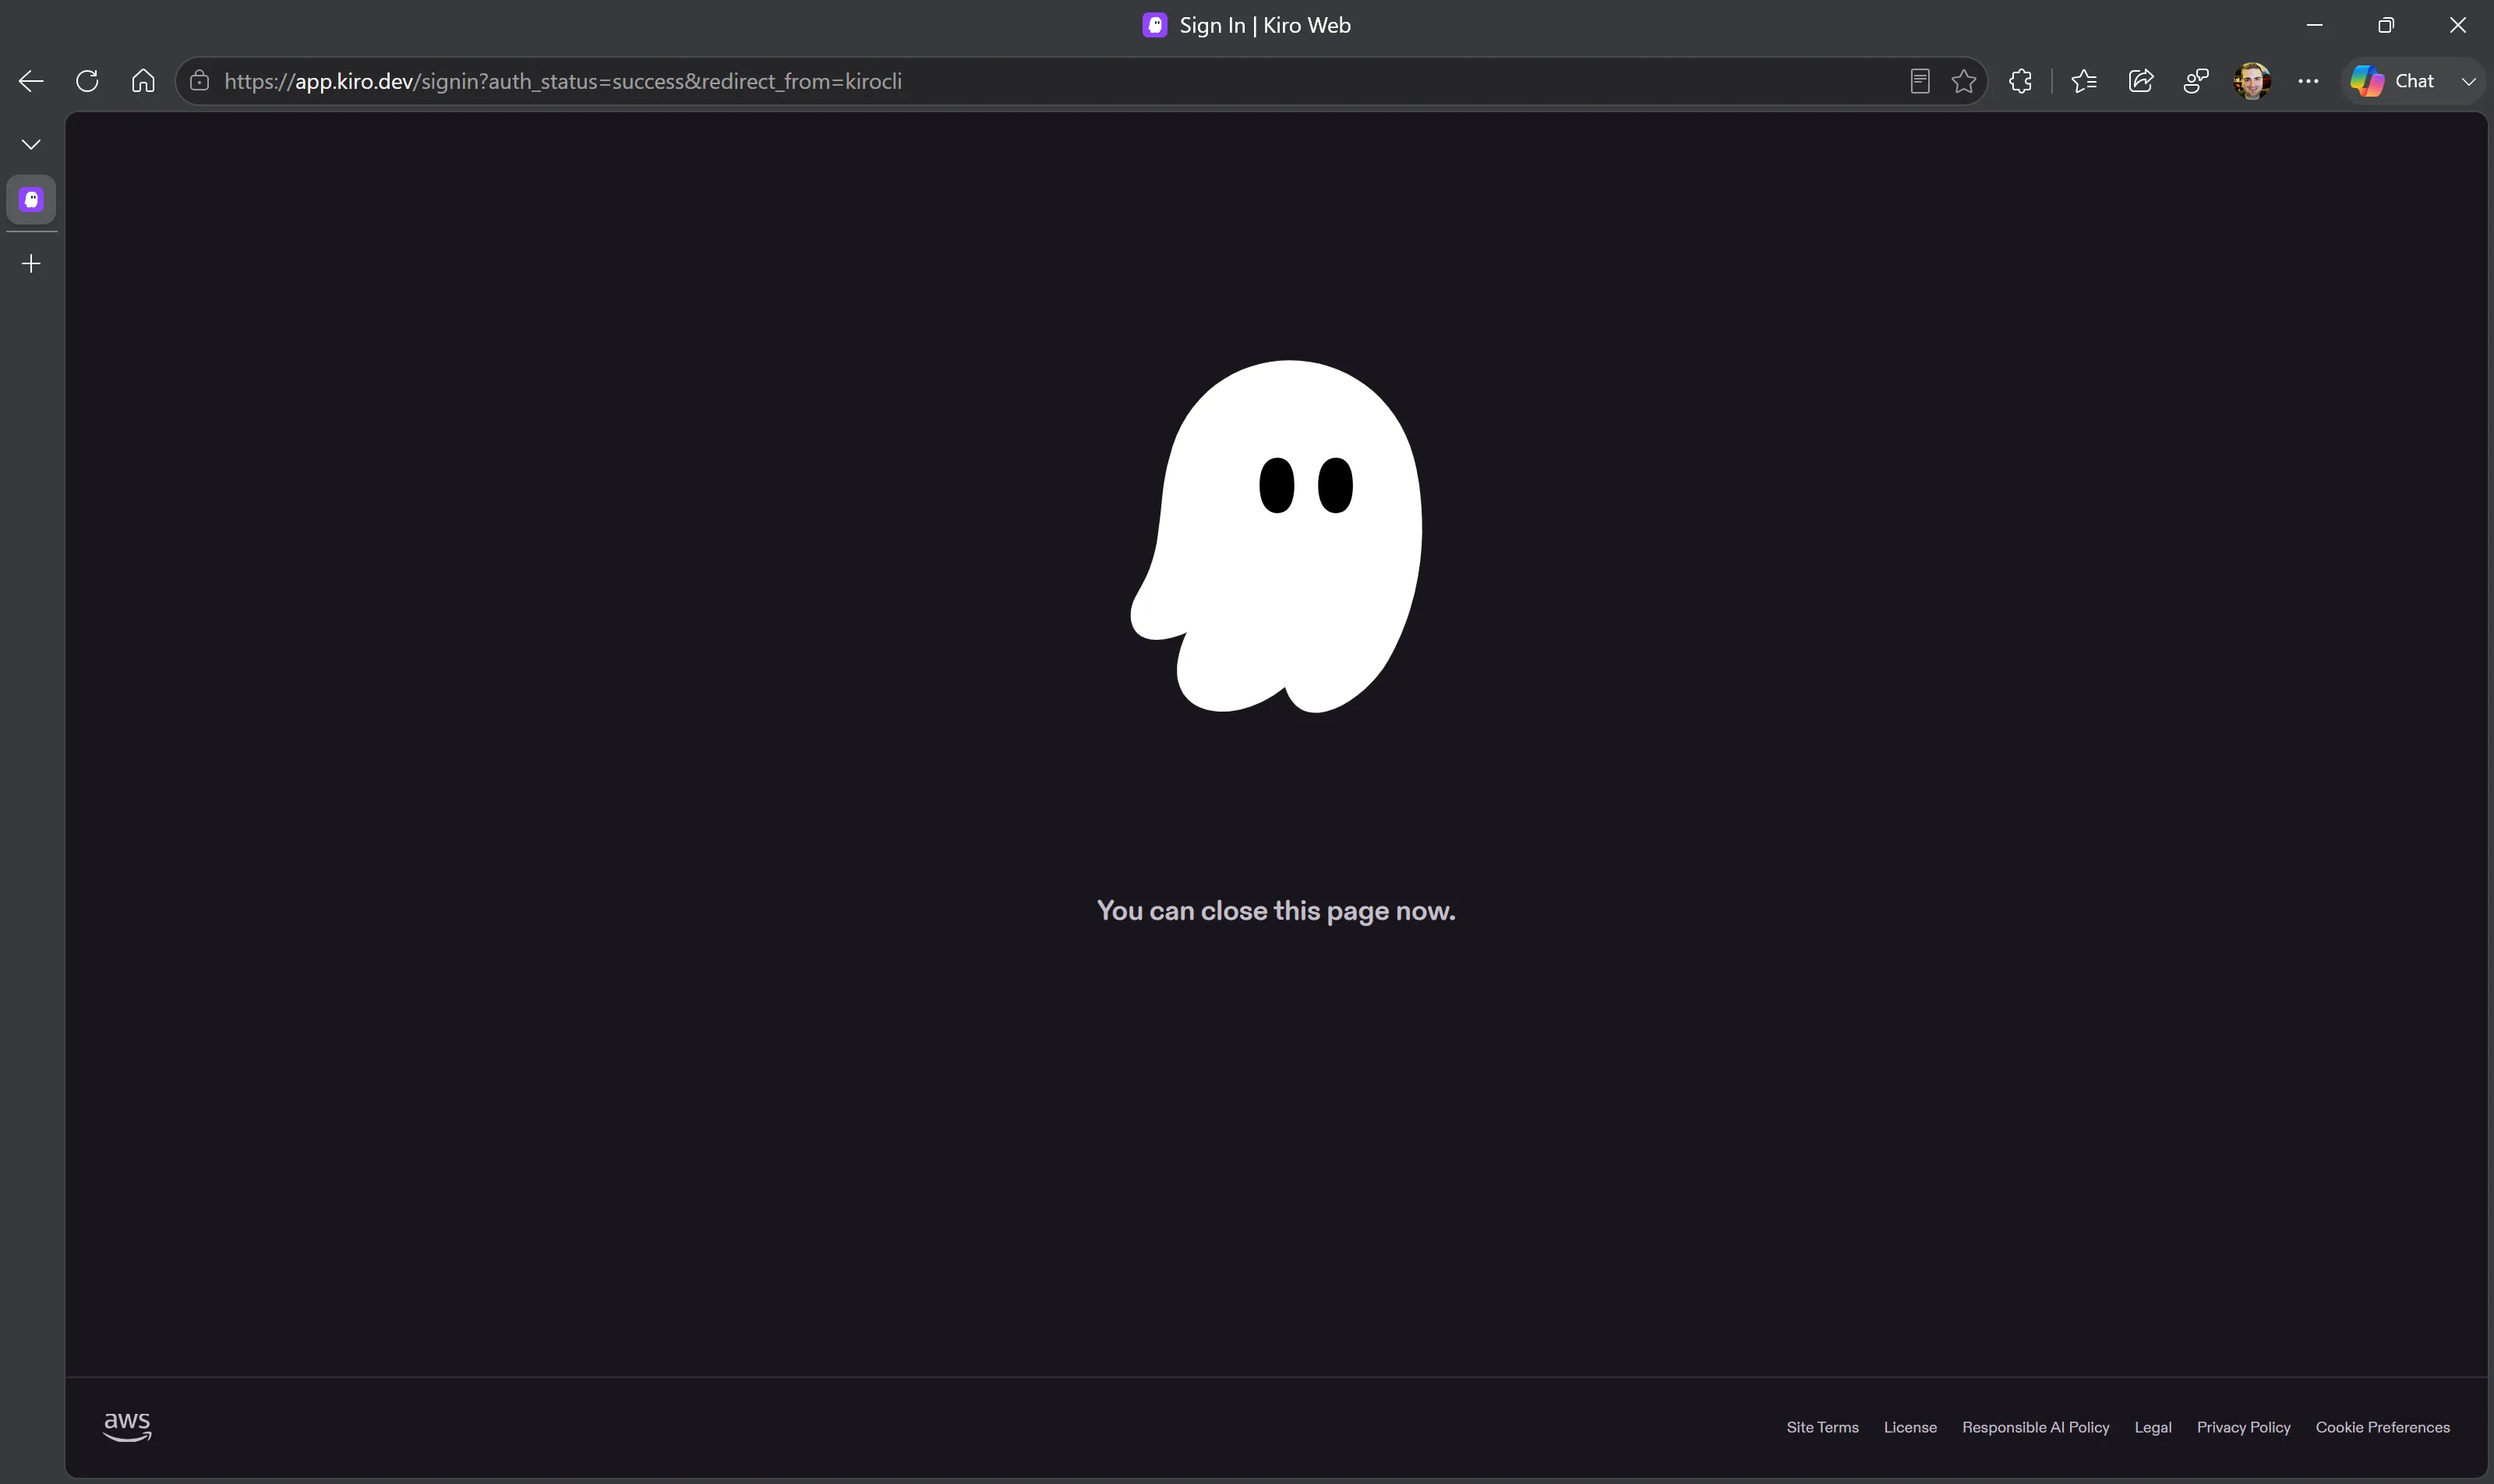
Complete sign-in in the browser; it confirms you can close the tab and sends you back to Kiro automatically. You’ll land on the welcome page and can open a project.
-
Start sign-in from your terminal:
Terminal window kiro-cli login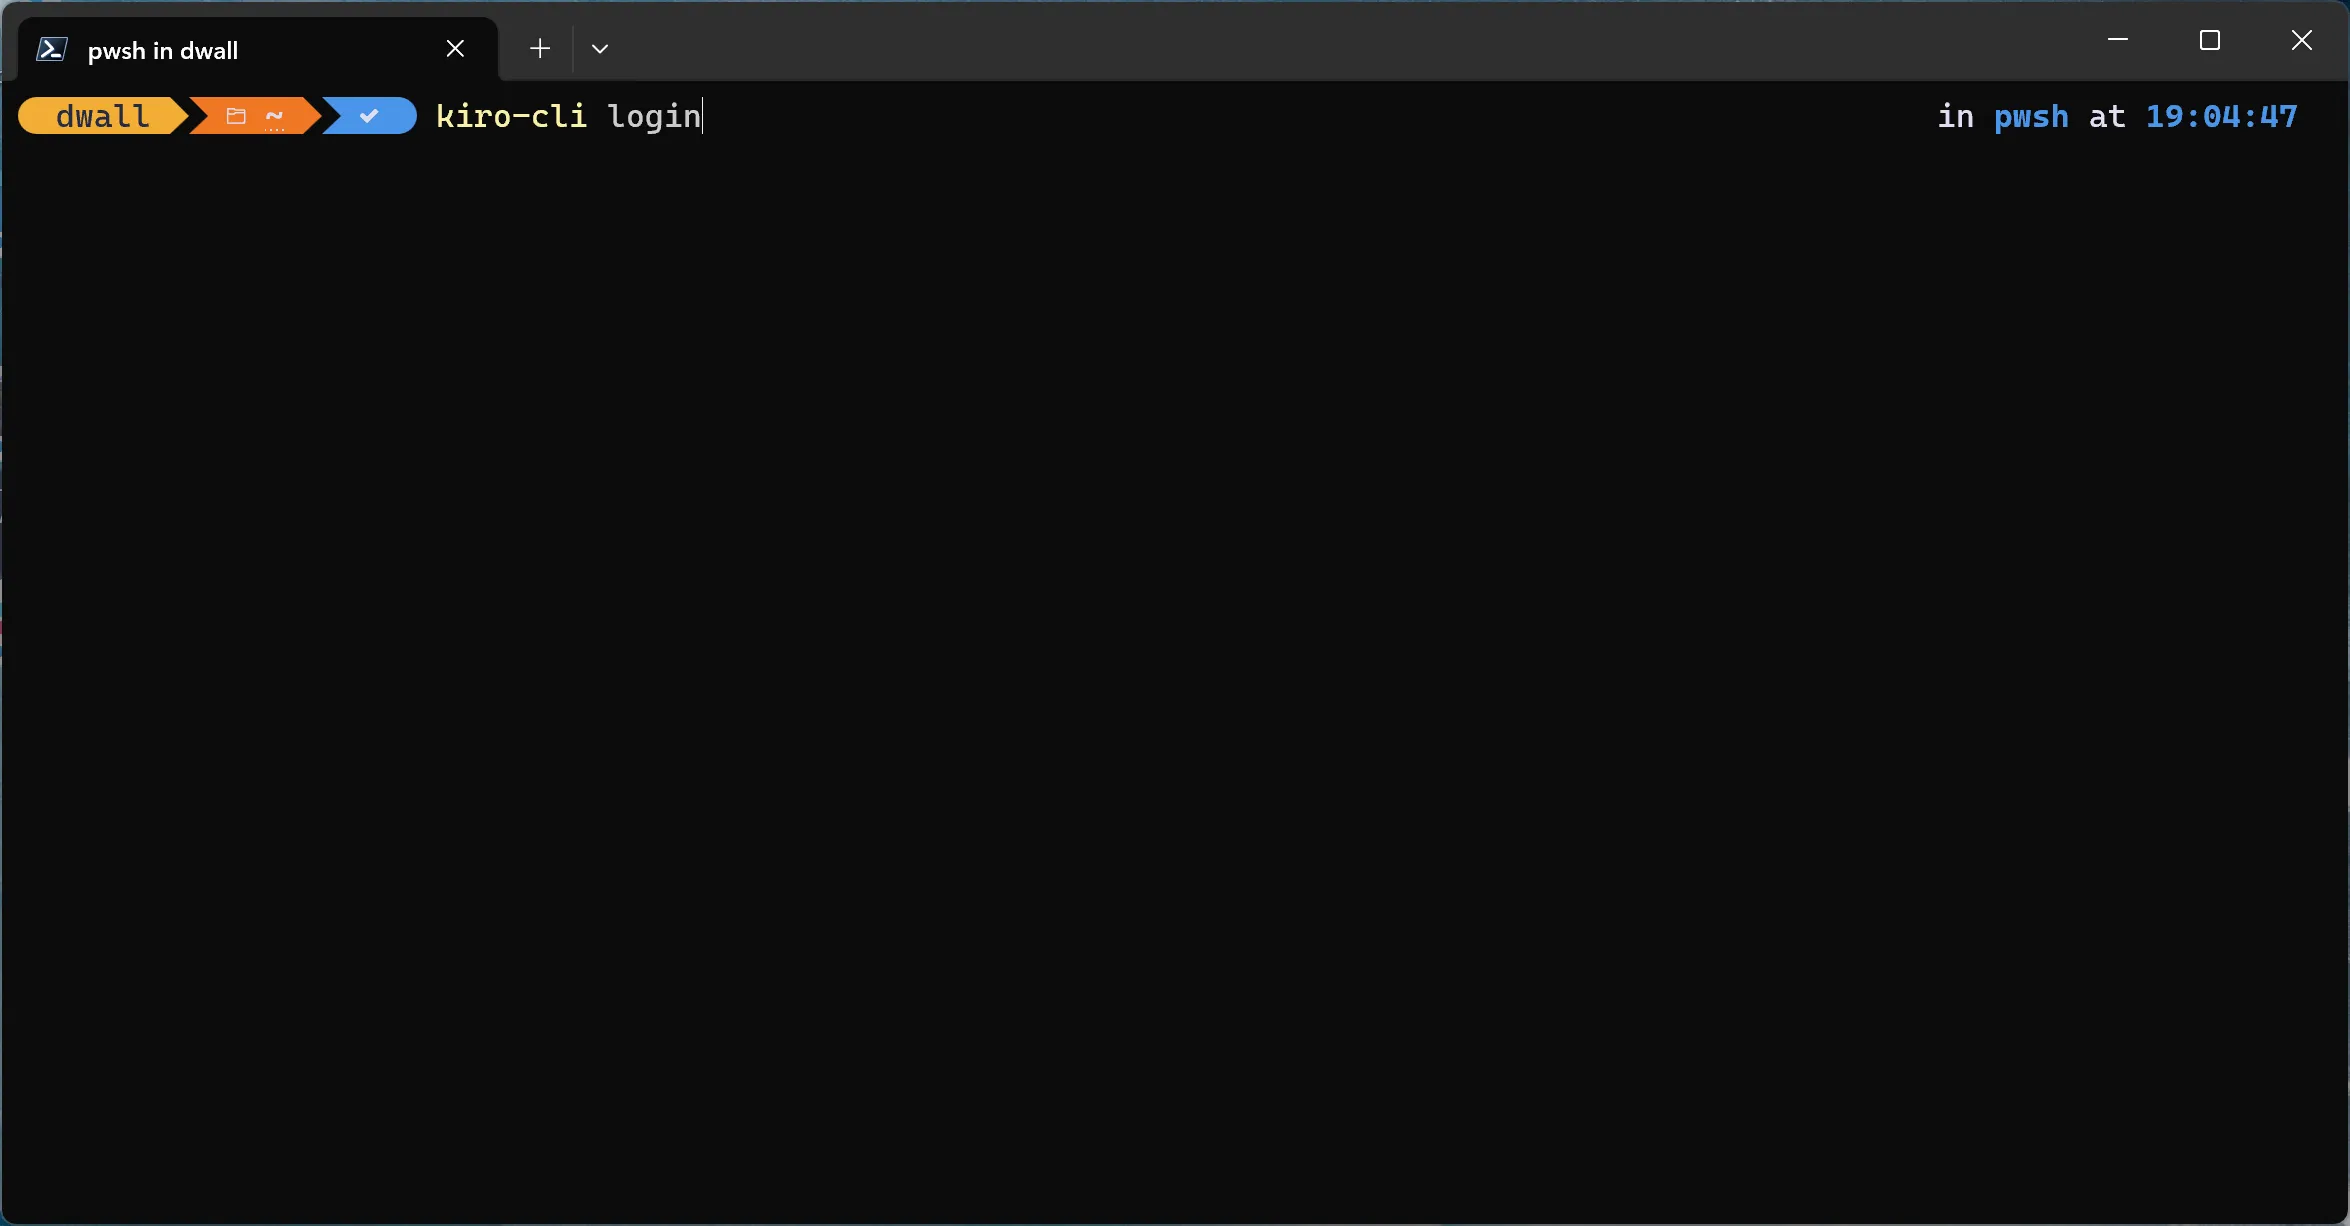
-
Press Enter to open your browser, then choose your provider (Google, GitHub, Builder ID, or your organization).
Using IAM Identity Center? Choose Your organization here, then follow AWS IAM Identity Center below before finishing this step.
-
After authenticating, the browser directs you back to your terminal and the CLI detects the login automatically. The browser tab confirms you can close it.
-
Confirm who you’re signed in as:
Terminal window kiro-cli whoamiTo sign out later, run
kiro-cli logout.
AWS IAM Identity Center
Section titled “AWS IAM Identity Center”This picks up from the Choose a way to sign in/sign up page, which is step 2 of either flow above, the browser page both the IDE and CLI open. Before you start, get two things from your admin or help desk: a Start URL and the Region that hosts your identity directory.
-
On that chooser, select Your organization.
-
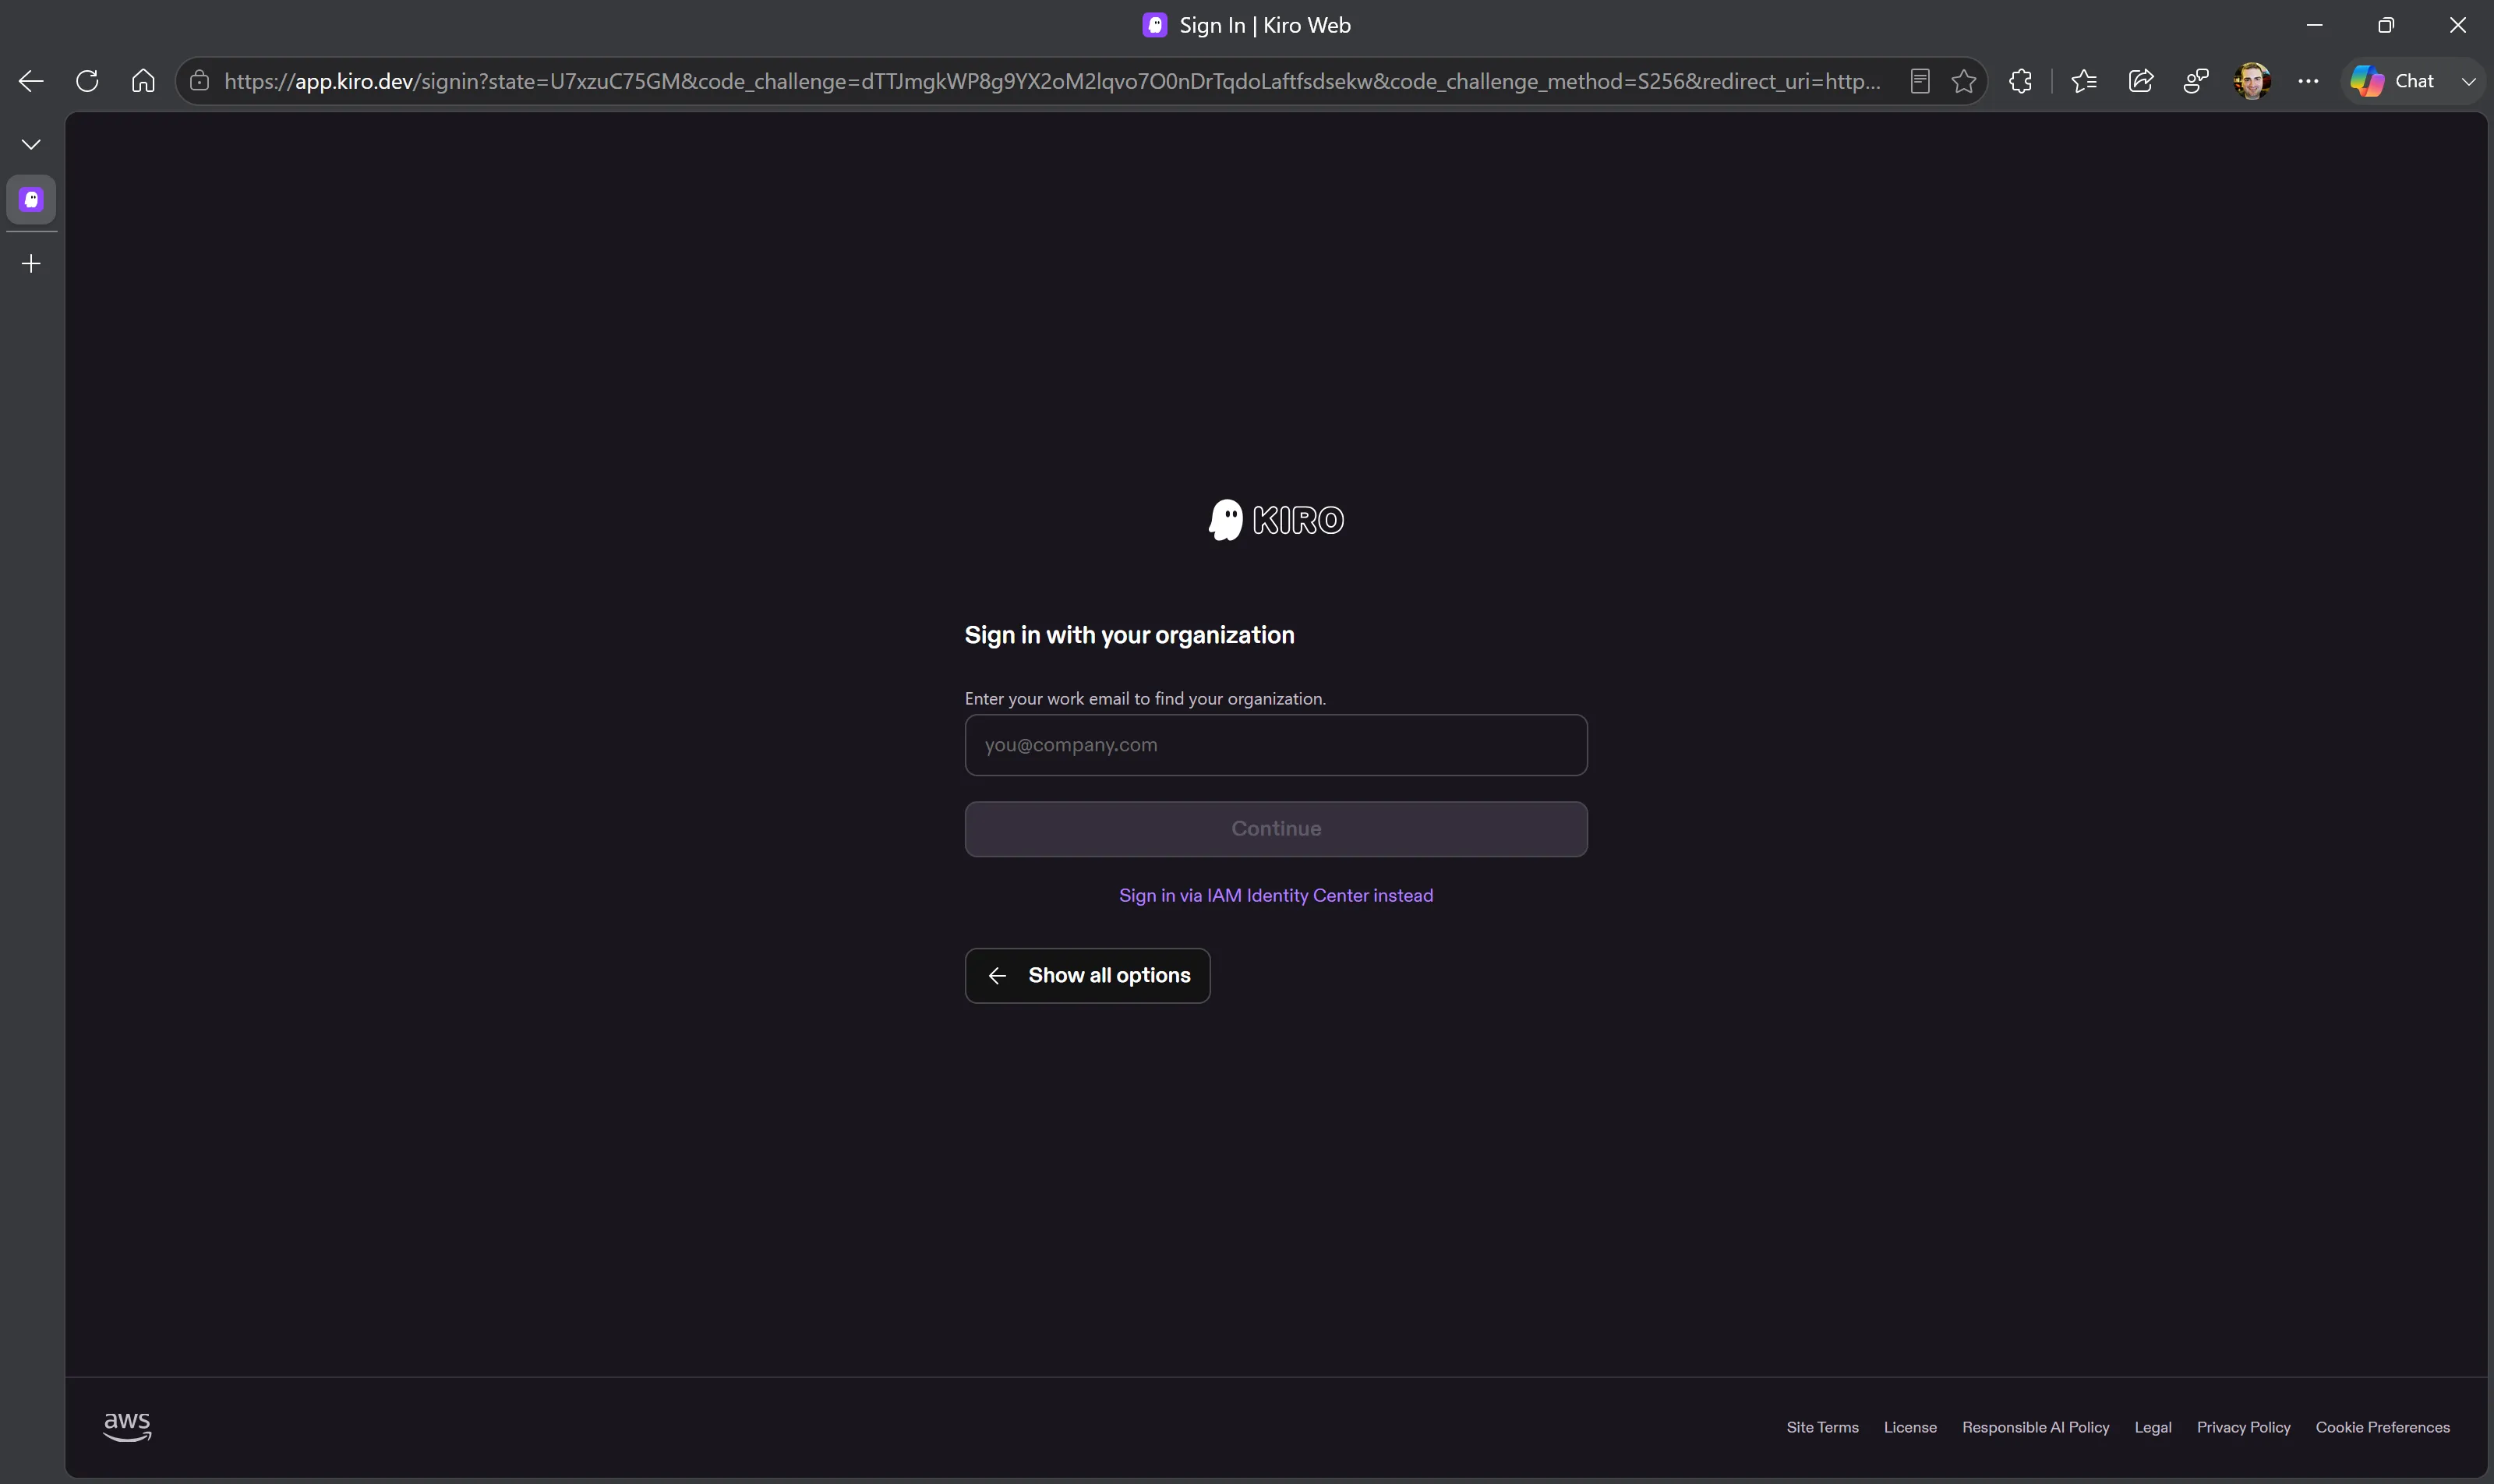
On Sign in with your organization, you can enter your work email to find your organization. Or, if you already have your Identity Center details, choose Sign in via IAM Identity Center instead.
-
In Start URL, enter the URL provided by your admin (e.g.
https://my-org.awsapps.com/start). In Region, enter the AWS Region hosting the identity directory, then choose Continue and finish sign-in in your browser.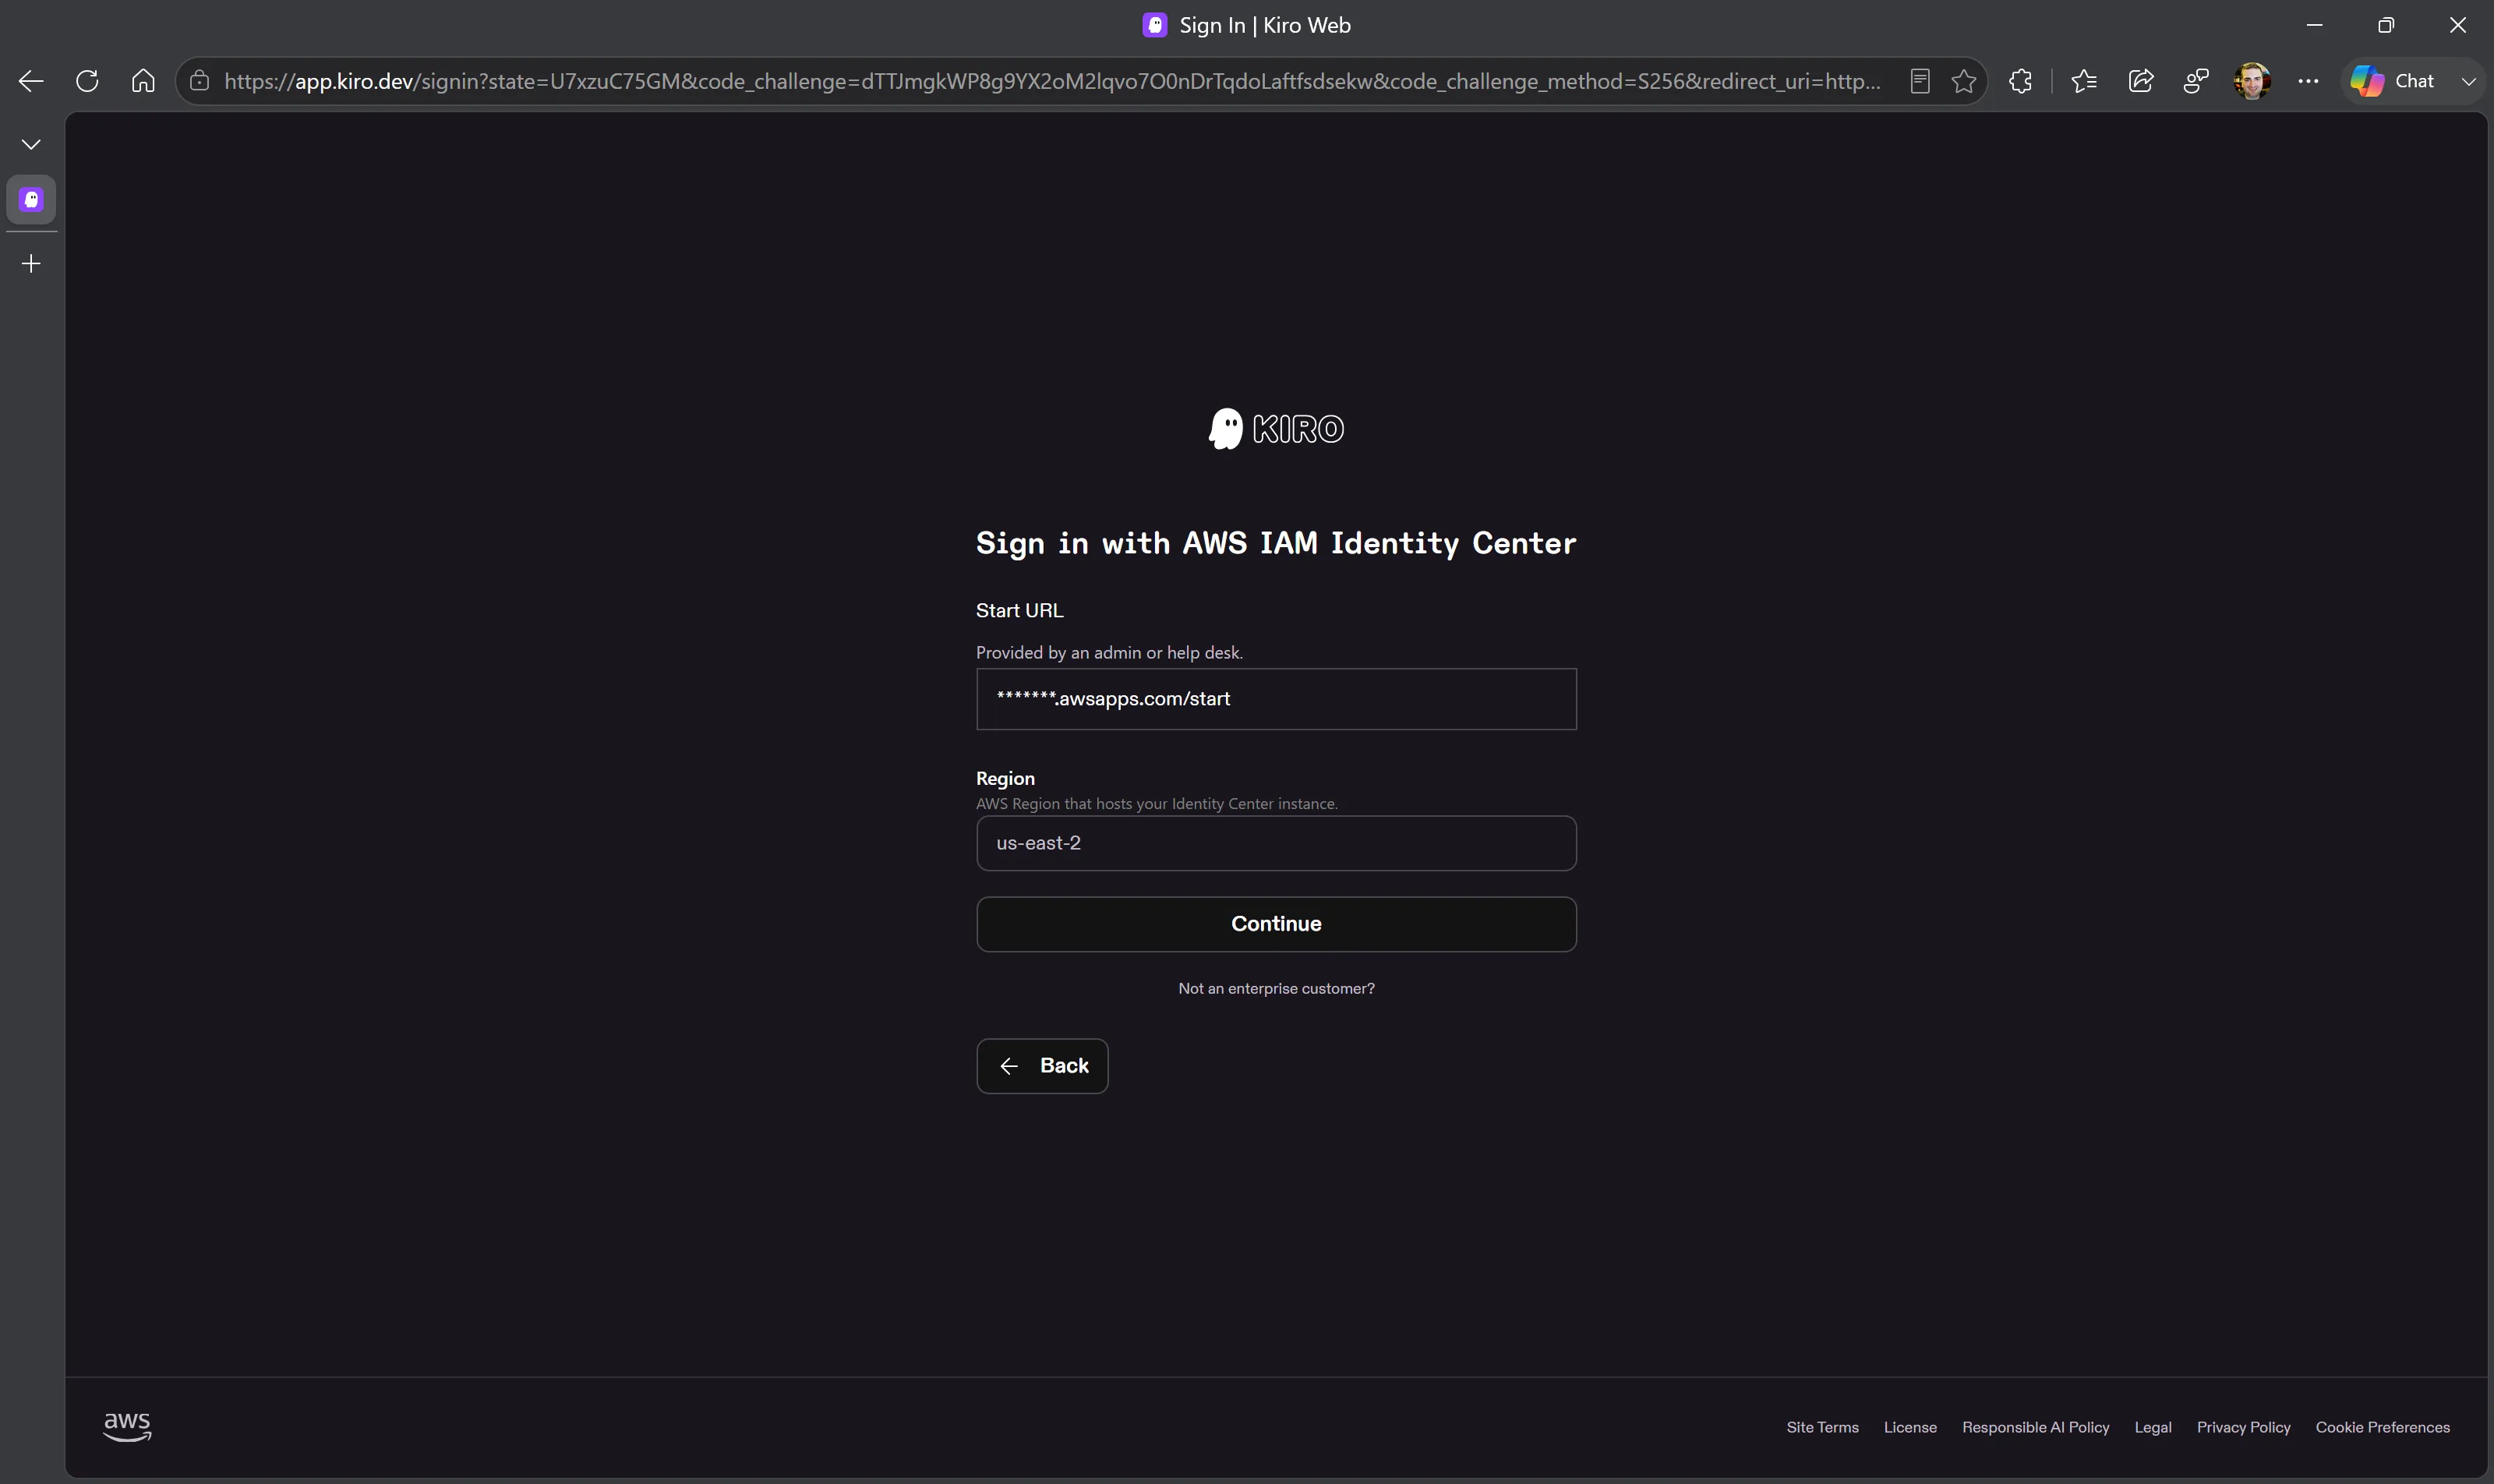
Once you’ve finished signing in, you’re sent back to Kiro. Return to step 3 of
your flow above (the welcome page in the IDE, or kiro-cli whoami in the CLI).